Abstimmung durchführen
Carry out a choice
Ziele:
Ein schnelles, kursweites Meinungsbild Ihrer Studierenden einholen. Die Abstimmung dabei zeitlich begrenzen und ggf. anonym durchführen.
Schwierigkeit: einfach
Gültig ab Moodle Version 4.2
Goals:
Carry out a quick course-wide voting with your students. Limit the time for the vote and, if necessary, conduct it anonymously.
Difficulty: easy
Valid from Moodle Version 4.2
Aktivität anlegen
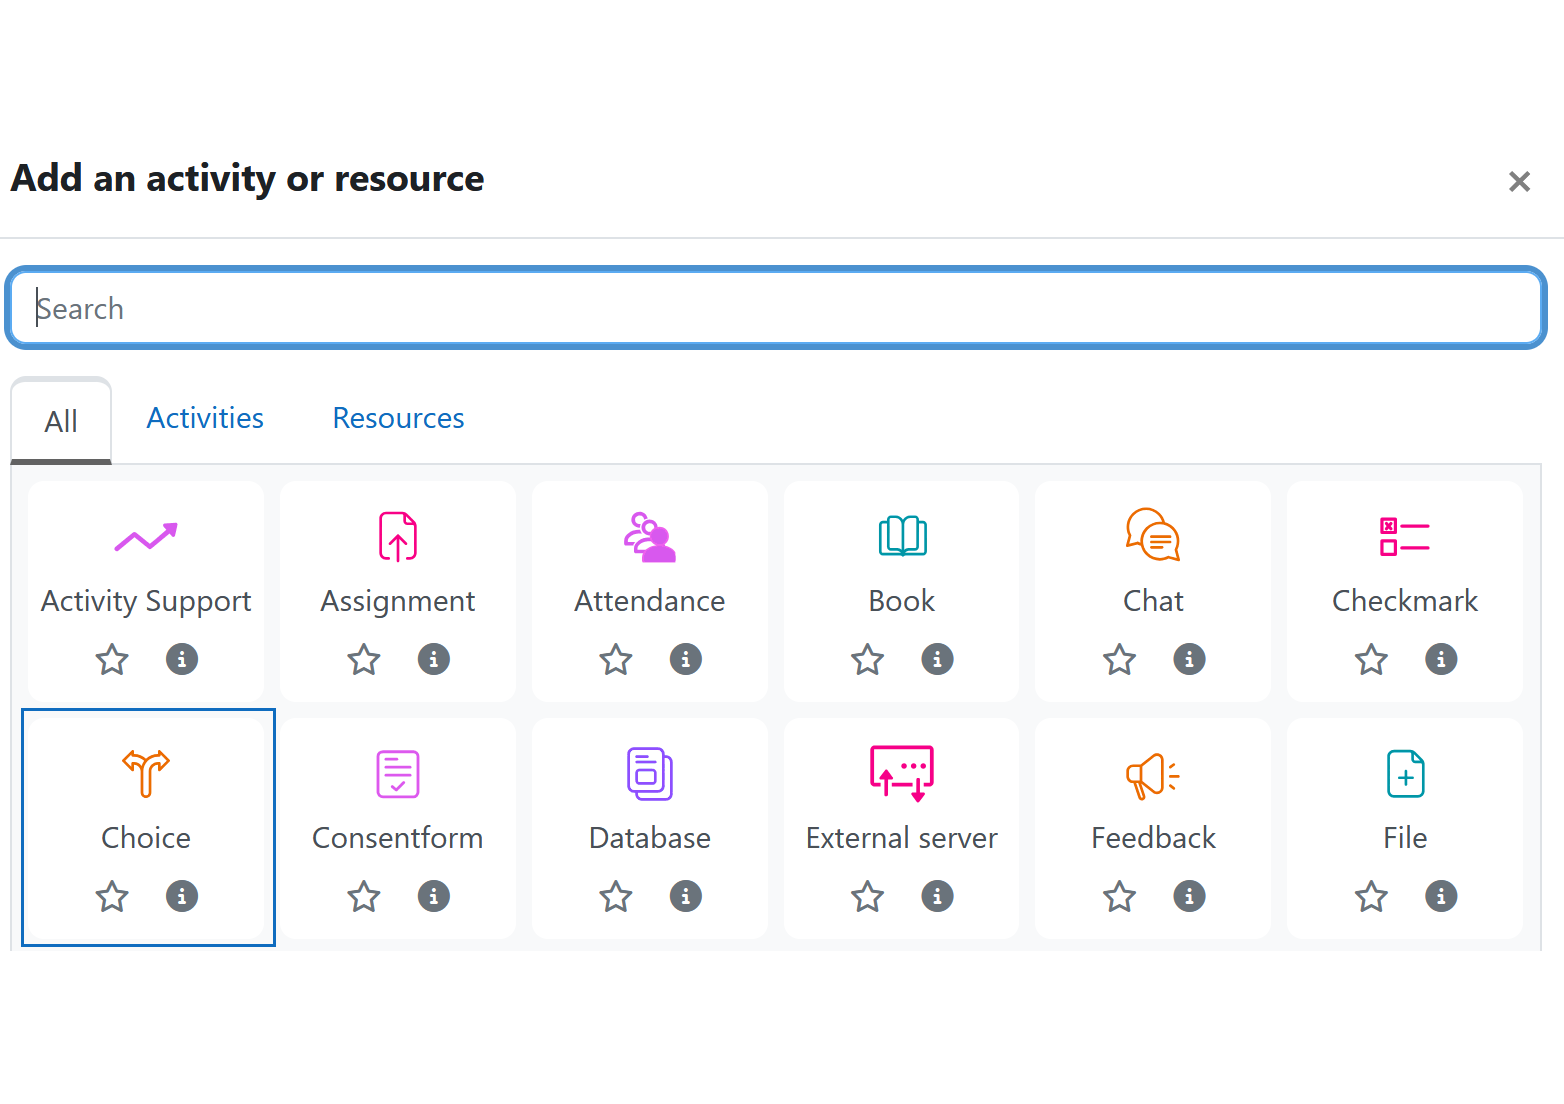
Legen Sie eine „Abstimmung" an, wie in dieser Anleitung beschrieben.

Create activity
Create a "Choice" as described in this guide.
Optionen eintragen
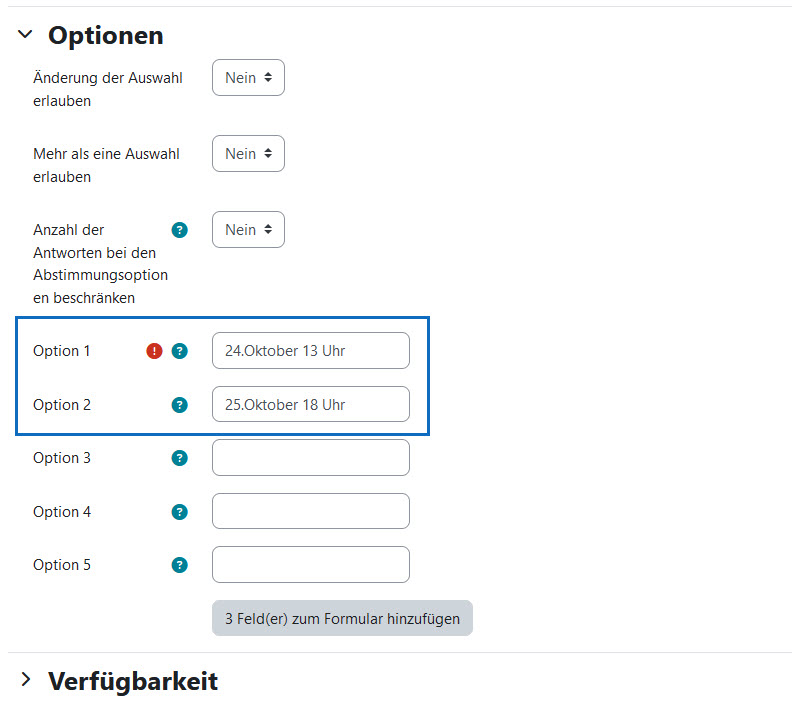
Tragen Sie in den Einstellungen der Aktivität nun die Optionen für die studentischen Antwortmöglichkeiten ein. In unserem Beispiel erfolgt eine Abstimmung zu zwei Terminen einer Exkursion.
Hinweis: In diesem Abschnitt haben Sie drei Einstellungen zur Verfügung. Mit „Änderung der Auswahl erlauben“ definieren Sie, ob Studierende nach einer bereits erfolgten Abstimmung ihre Meinung ändern dürfen. Mit „Mehr als eine Auswahl erlauben“ können Sie einstellen, ob Studierende ihre Stimme zu mehreren Abstimmungsoptionen geben können. Mit dem dritten Parameter, „Anzahl der Antworten bei den Abstimmungsoptionen beschränken“, definieren Sie, von wie vielen Studierenden eine Antwort überhaupt gewählt werden kann. Diese Option ist beispielsweise dann sinnvoll, wenn die Abstimmung zur Aufteilung von Seminarthemen genutzt wird.
Hinweis zur Gruppenfunktion: Die Obergrenze bezieht sich auf jede einzelne Gruppe. Das bedeutet, dass jede Gruppe, bei einer Obergrenze von 4, unabhängig von den anderen Gruppen 4 Abstimmungen hat. Bei 3 Gruppen sind somit insgesamt 12 Abstimmungen möglich.
Enter options
In the activity settings, now enter the options for the possible student responses. In our example, a vote is made on two dates of an excursion.
Note: In this section you have three settings available. With "Allow choice to be updated" you define whether students are allowed to change their opinion after a vote has already been made. With "Allow more than one choice to be selected" you can define if students can give their vote to more than one option. With the third parameter "Limit the number of responses allowed" you define how many students can vote for an answer at all. This option is useful, for example, if voting is used to divide up seminar topics.
Note on group mode: The upper limit refers to each individual group. This means that each group, with an upper limit of 4, has 4 votes regardless of the other groups. With 3 groups, a total of 12 votes are therefore possible.
Einstellungen setzen und speichern
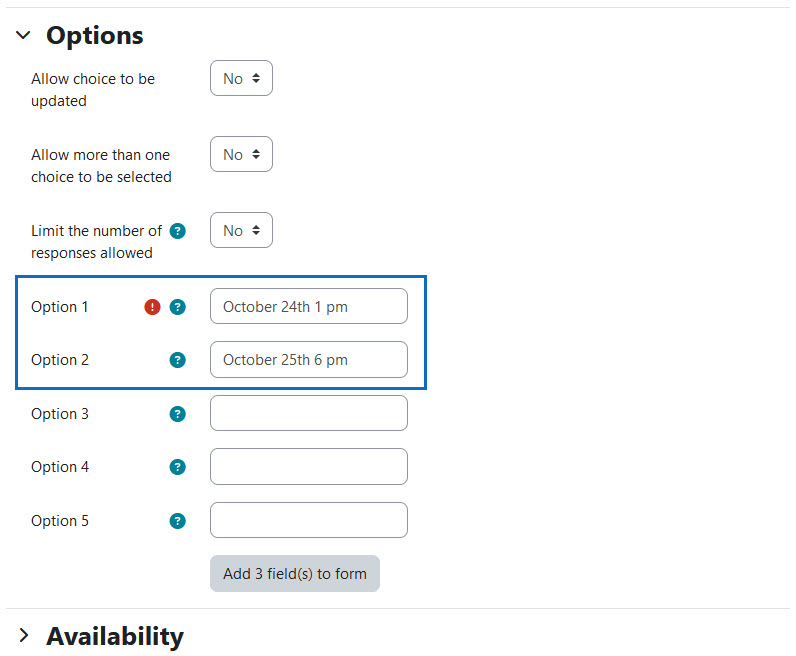
Legen Sie nun die weiteren Einstellungen fest. Empfehlenswert ist zum Beispiel das Aktivieren der Verfügbarkeit, wenn die Abstimmung in einem bestimmten Zeitraum zu erfolgen hat.
Weiters können Sie mit dem Parameter „Ergebnisse veröffentlichen" bestimmen, ob bzw. wann die Ergebnisse für Studierende ersichtlich sind. Ist dies gesetzt, können Sie auch bestimmen, ob die Abstimmung anonym oder mit Namen der Studierenden erfolgen soll (Parameter „Ergebnisse anonym darstellen").
Um die Aktivität anzulegen, klicken Sie auf „Speichern und anzeigen“.
Enter settings and save
Now define the settings. For example, it is recommended to activate the availability if the voting has to take place in a certain period of time.
Furthermore, you can use the parameter "Publish results" to determine whether or when the results are visible to students. If this is set, you can also determine whether the voting should be anonymous or with the names of the students (parameter "Privacy of results").
To create the activity, click on "Save and display".

Vorschau prüfen
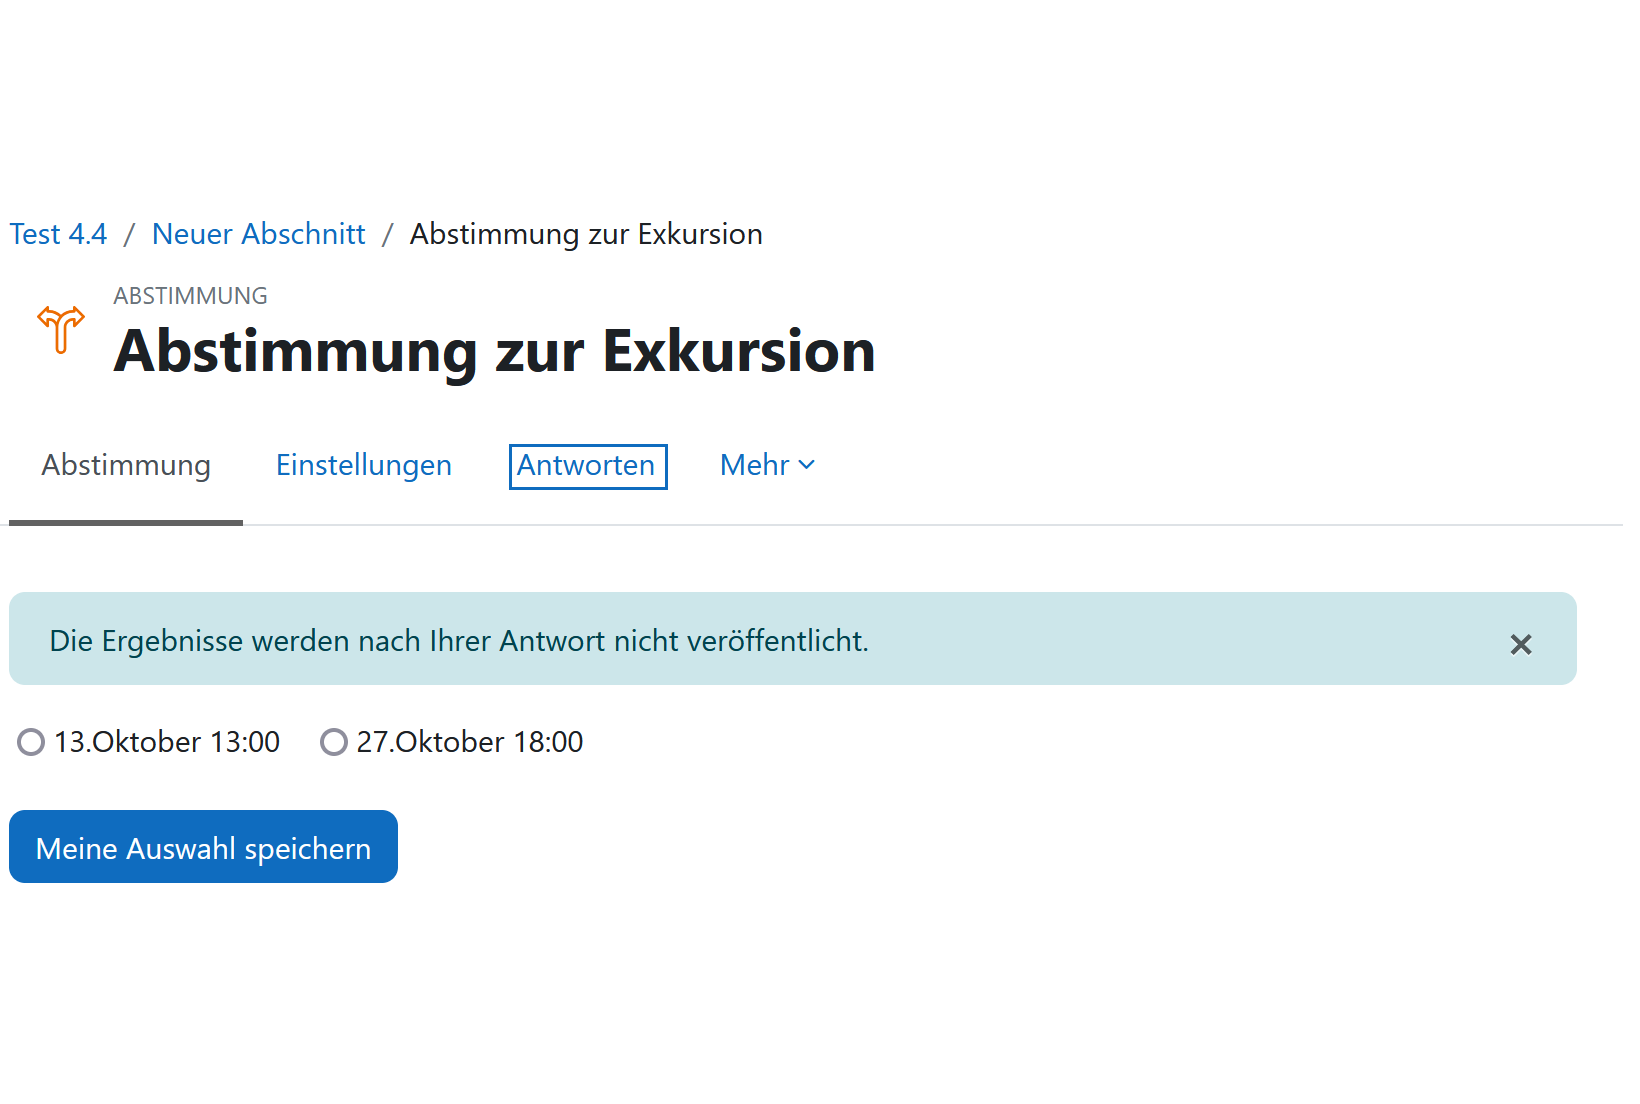
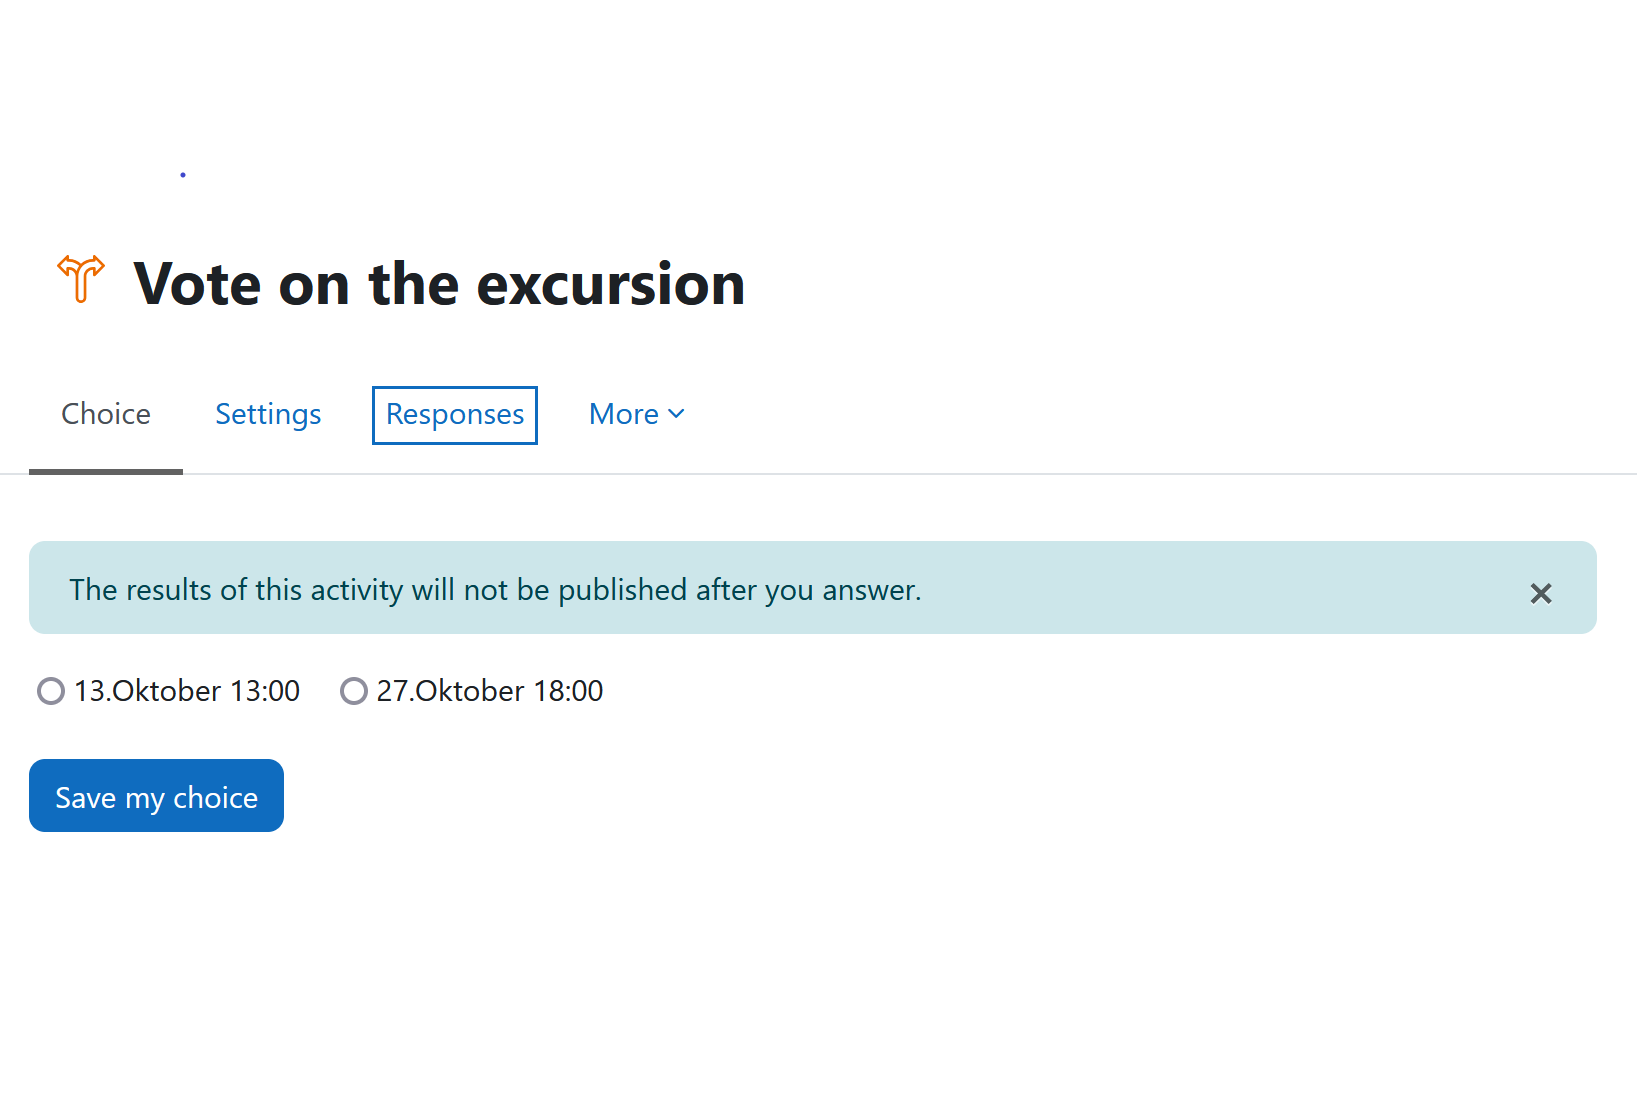
Die Abstimmung wurde erfolgreich angelegt und Sie bekommen eine Vorschau zu sehen. Es erscheint sowohl für Studierende als auch für Lehrende ein Hinweis, ob die Namen der Studierenden bei der Abstimmung ersichtlich sind. Um die Ergebnisse der Abstimmung anzusehen, öffnen Sie den Register „Antworten".
Check preview
The vote has been successfully created and you will see a preview. There will also be an indication for both students and teachers whether the names of the students are visible in the voting. To view the results of the voting, open the "Responses" tab.
Antworten einsehen
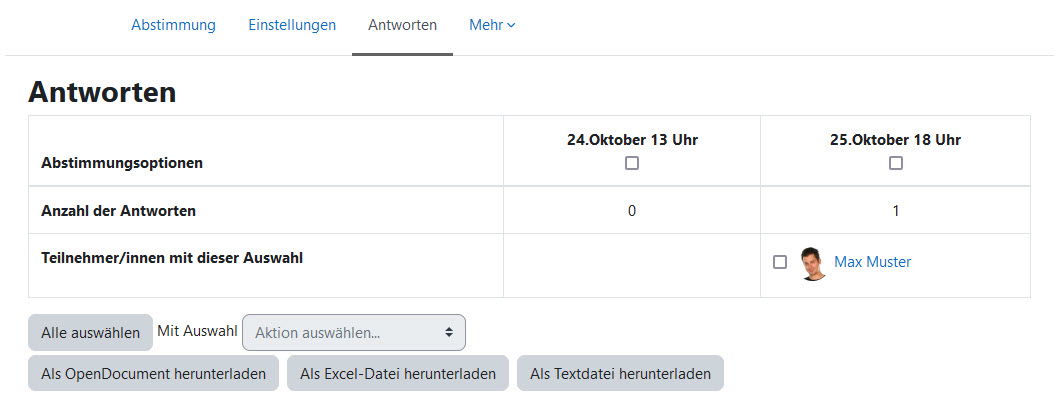
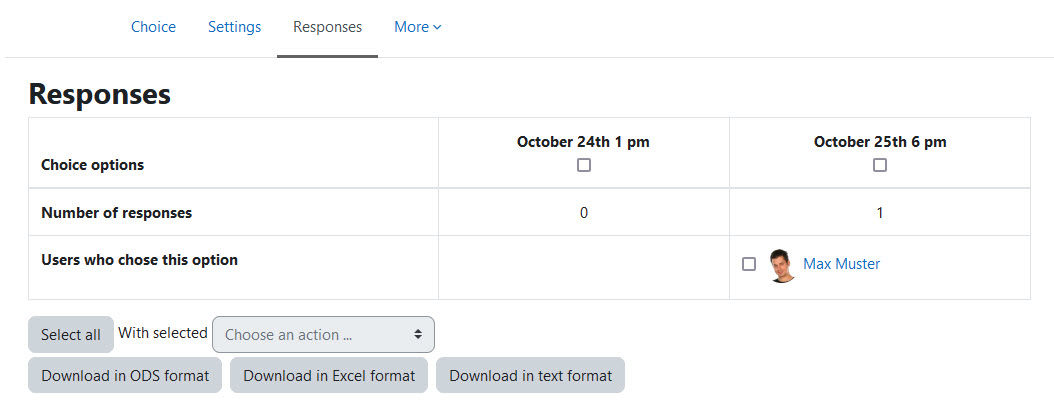
In dieser Ansicht sehen Sie nun die Namen der Studierenden in den jeweiligen Antwortspalten. Sie können erkennen, dass die Option „25.Oktober 18 Uhr" eine Stimme (von Max Muster) erhielt.
Tipp: In der Lehrpraxis kommt es gelegentlich vor, dass Studierende aus bestimmten Gründen nicht abstimmen können. Lehrende können für Studierende aber die Abstimmung durchführen. Hierfür müssen Sie in den Einstellungen der Abstimmung den Parameter „Teilnehmer/innen ohne Antwort anzeigen" aktivieren. Anschließend können Sie die Checkboxen neben den Namen der Studierenden aktivieren und für die ausgewählten Studierenden mit dem Parameter „Mit Auswahl" die Antwort festlegen.
View responses
In this view you can now see the names of the students in the respective answer columns. You can see that the option "October 25th 6 pm" received one vote (from Max Muster).
Tip: In teaching practice, it occasionally happens that students cannot vote for certain reasons. However, teachers can vote for students. To do this, you need to activate the parameter "Show column for unanswered" in the activity settings. Then you can activate the checkboxes next to the students' names and set the answer for the selected students with the parameter "With selected".
Weitere Informationen
Bei Fragen zur Barrierefreiheit wenden Sie sich bitte an die entsprechende Supporteinrichtung Ihrer Hochschule.
Dieses Werk steht unter einer Creative Commons Attribution-ShareAlike 4.0 Lizenz:
https://creativecommons.org/licenses/by-sa/4.0/
Further information
If you have any questions regarding accessibility, please contact the relevant support facility at your university.
This work is licensed under a Creative Commons Attribution-ShareAlike 4.0 License:
https://creativecommons.org/licenses/by-sa/4.0/