Buch anlegen
Create book
Ziele:
Erstellen Sie übersichtliche Textpassagen in Form von kurzer, zusammenhängender Seiten.
Schwierigkeit: einfach
Gültig ab Moodle Version 4.3
Goals:
Create well-organized text passages in the form of short, contiguous pages.
Difficulty: easy
Valid from Moodle version 4.3
11 Schritte:
11 Steps:
1. Material „Buch” anlegen
Erstellen Sie ein „Buch“ wie unter „Aktivität oder Material anlegen“ beschrieben.
1. Create the resource “Book”
Create a "book" as described in the guide "Create an activity or resource".
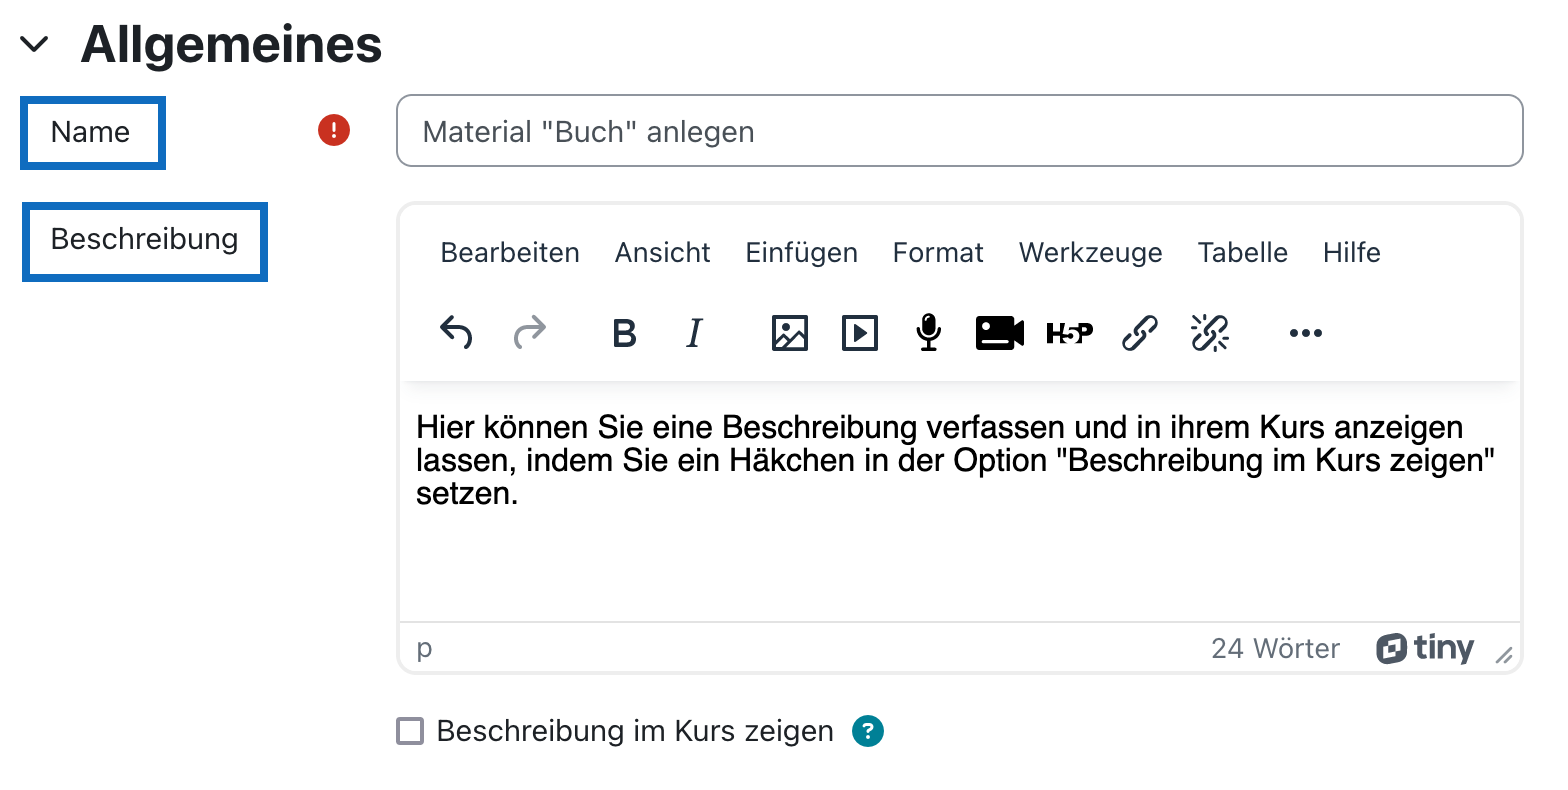
2. Titel und Beschreibung des Buches formulieren
Vergeben Sie im Abschnitt „Allgemeines” einen Namen sowie eine aussagekräftige Beschreibung für Ihr Buch.
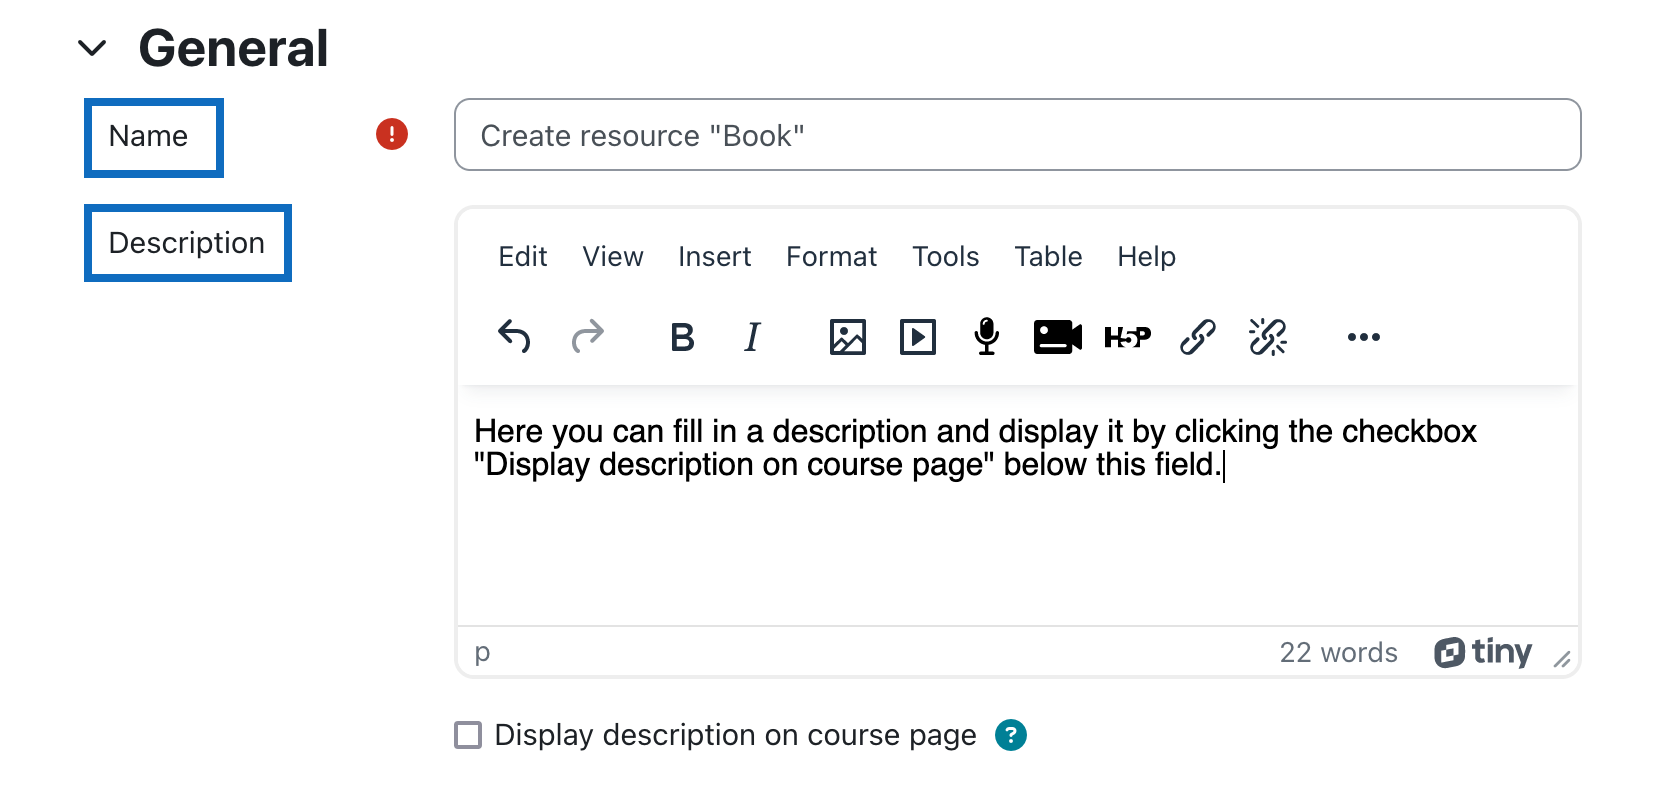
2. Add a name and additional information
In the section "General" of the settings of the book, assign a name as well as a meaningful description.
3. Darstellungsmöglichkeiten des Inhaltsverzeichnisses wählen
In dem Abschnitt „Darstellung” können Sie eine automatisierte Form der Gliederung der Kapitel und Unterkapitel im Drop-down-Element auswählen:
„Keine": Kapitel und Unterkapitel werden nicht automatisch nummeriert. Somit sind eigene Formate möglich, z.B. mit Buchstaben und Ziffern.
Bei „Zahlen” werden Kapitel und Unterkapitel nummeriert.
Bei „Punkte" werden Unterkapitel eingerückt und mit Punkten nummeriert.
Wählen Sie „Einrückung", wenn Ihre Unterkapitel eingerückt dargestellt werden sollen.
Bestätigen Sie Ihre Angaben mit der Schaltfläche „Speichern und anzeigen”.
Hinweis: Wenn Sie die Option „Eigene Überschriften” mittels Häckchen aktivieren, können Sie eigene Überschriften am Seitenbeginn des Buches formulieren, die unabhängig von Ihrer Kapitelüberschrift im Inhaltsverzeichnis dargestellt werden. Wenn diese Funktion deaktiviert ist, wird dieselbe Seitenüberschrift auch im Inhaltsverzeichnis angezeigt.

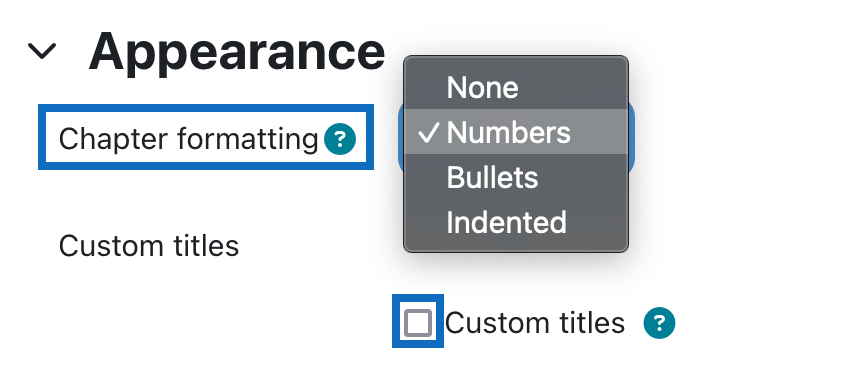
3. Select display options for the table of contents
In the section "Appearance" in the drop-down element you can select an automated form of the structure of chapter and subchapter:
"None": chapters and subchapters are not automatically numbered. Thus, your own formats are possible, e.g. with letters and numbers.
With "Numbers", chapters and subchapters are numbered.
With "Dots", subchapters are indented and marked with dots.
Select "Indented" if you want your subchapters to be indented.
Confirm your entries with the "Save and display" button.
Note: If you enable the "Custom headings" option by ticking the box, you can formulate your own headings at the beginning of the page of the book, which are displayed independently of your chapter heading in the table of contents. If this function is deactivated, the same page heading will also be displayed in the table of contents.
4. Änderungen speichern
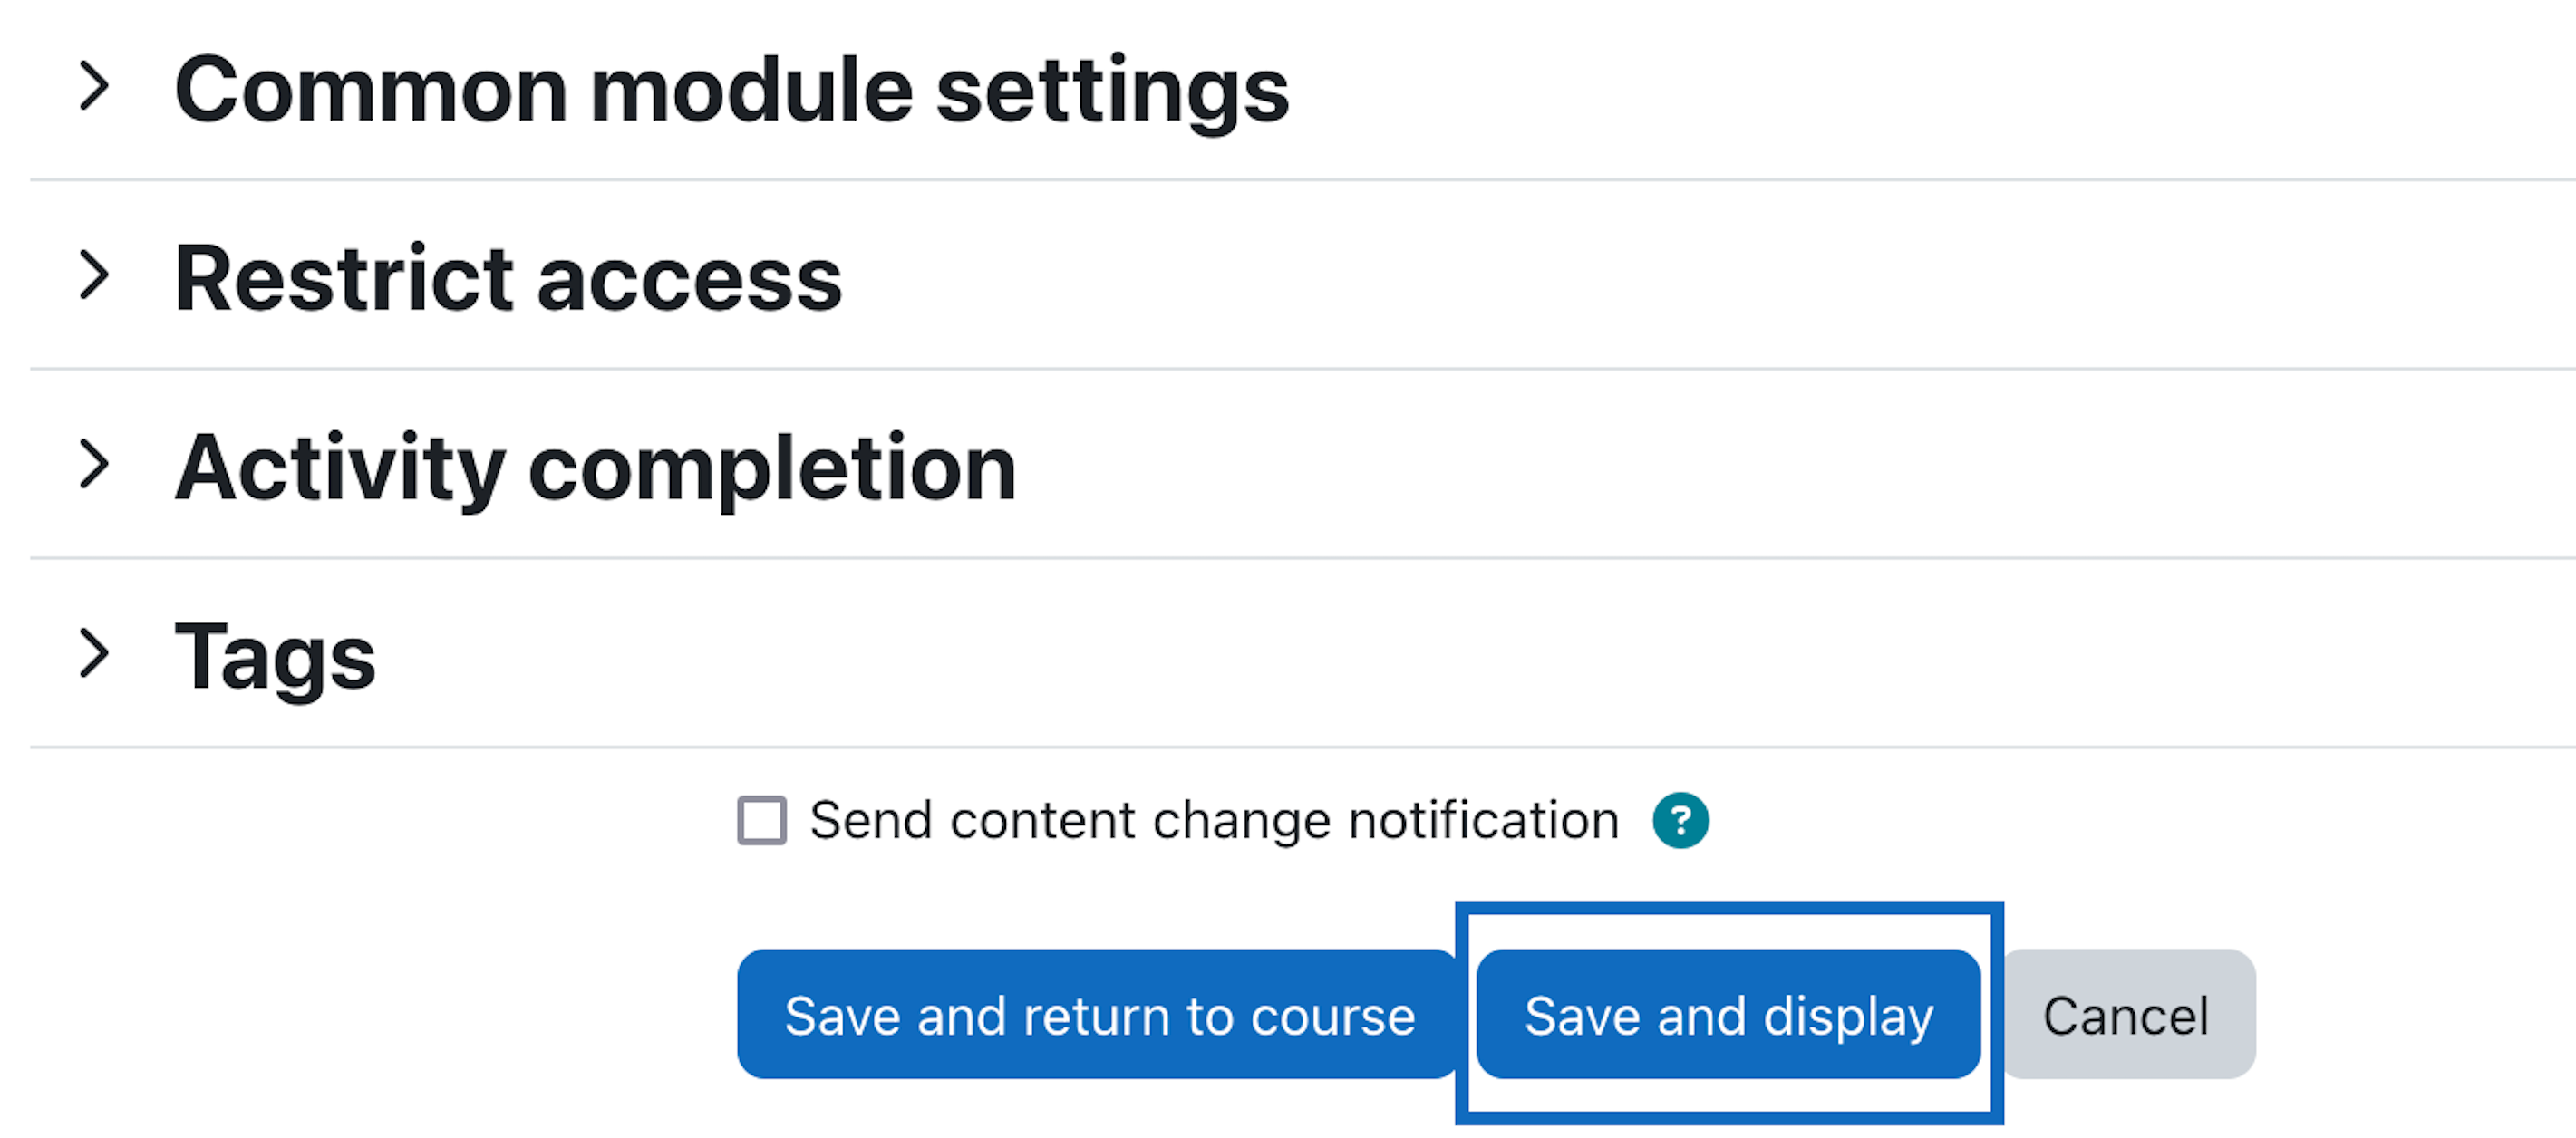
Bitte bestätigen Sie abschließend die Einstellungen mittels Klick auf die Schaltfläche „Speichern und Anzeigen" am Seitenende.
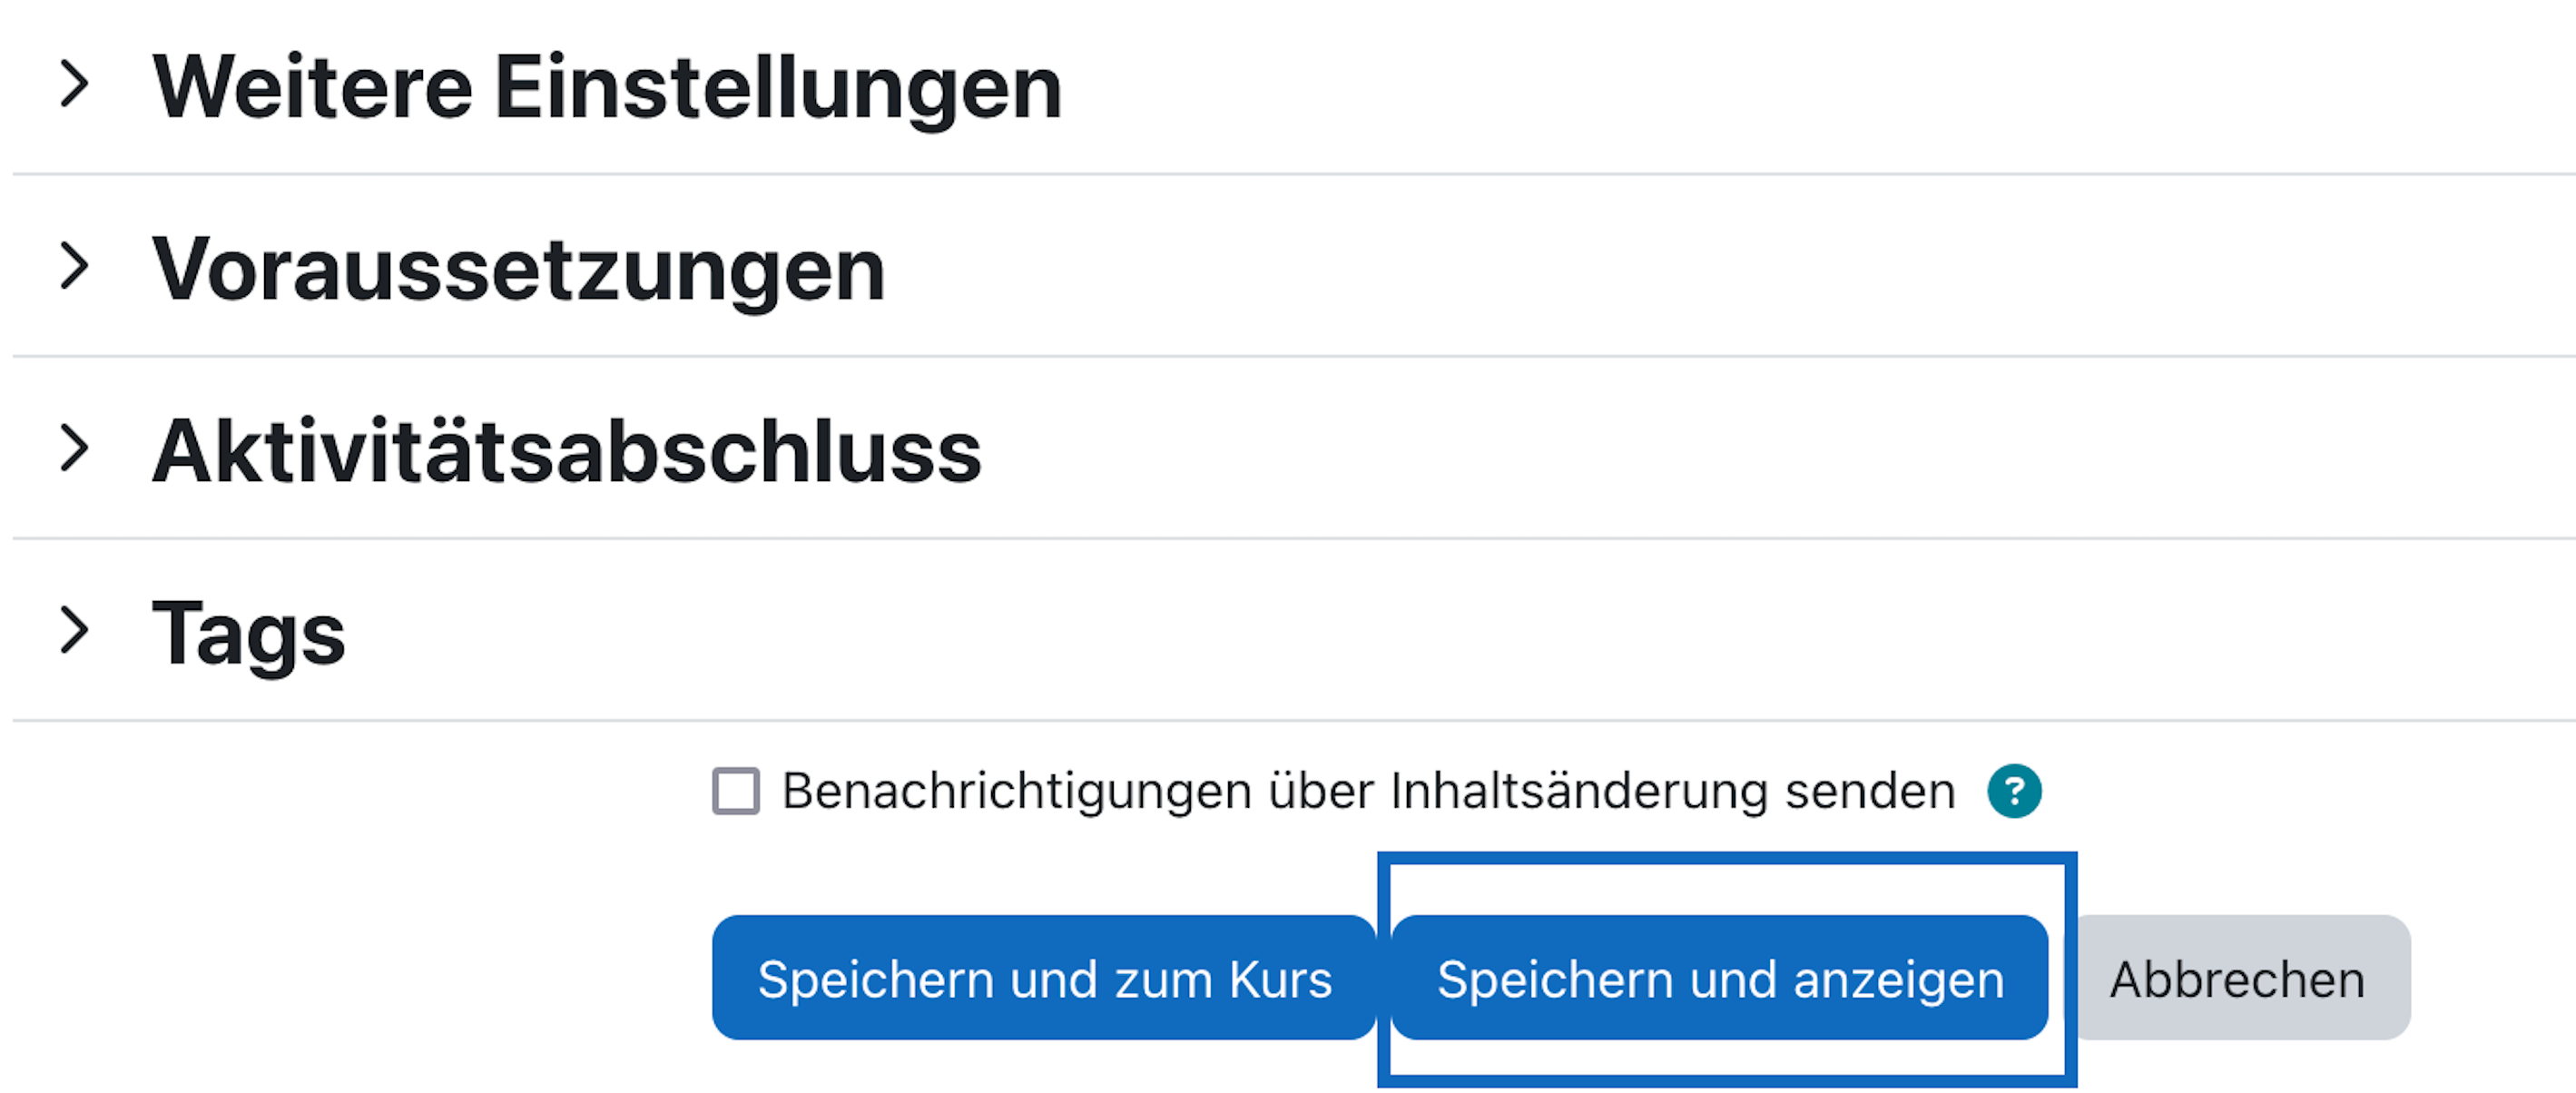
4. Save changes
Please confirm the settings by clicking on the button "Save and display" at the bottom of the page.
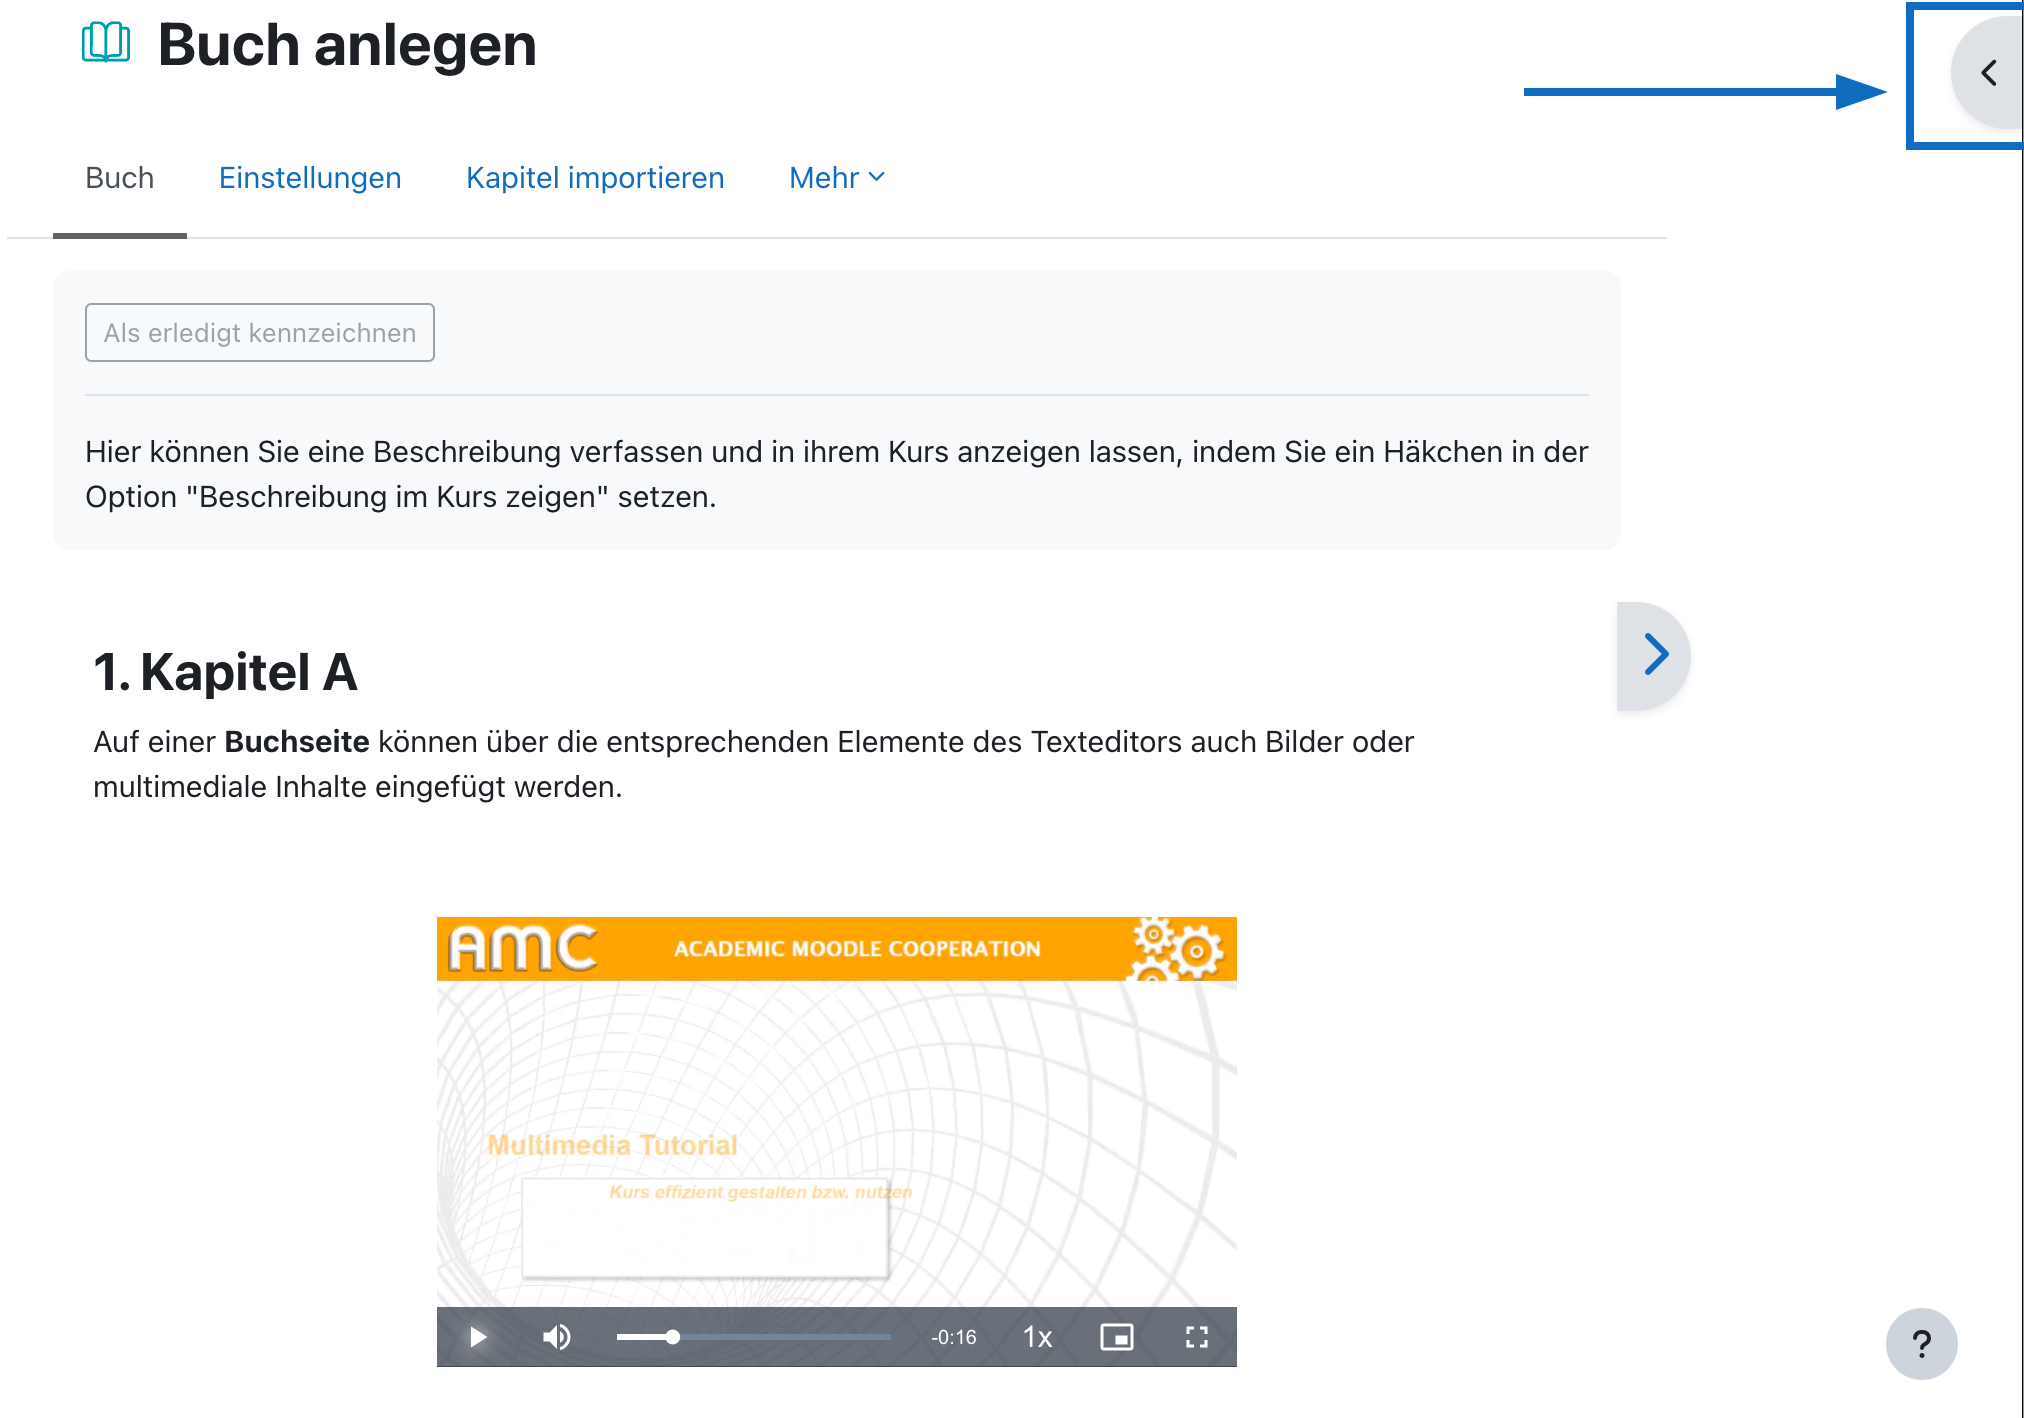
5. Die erste Kapitelüberschrift und den Inhalt erstellen
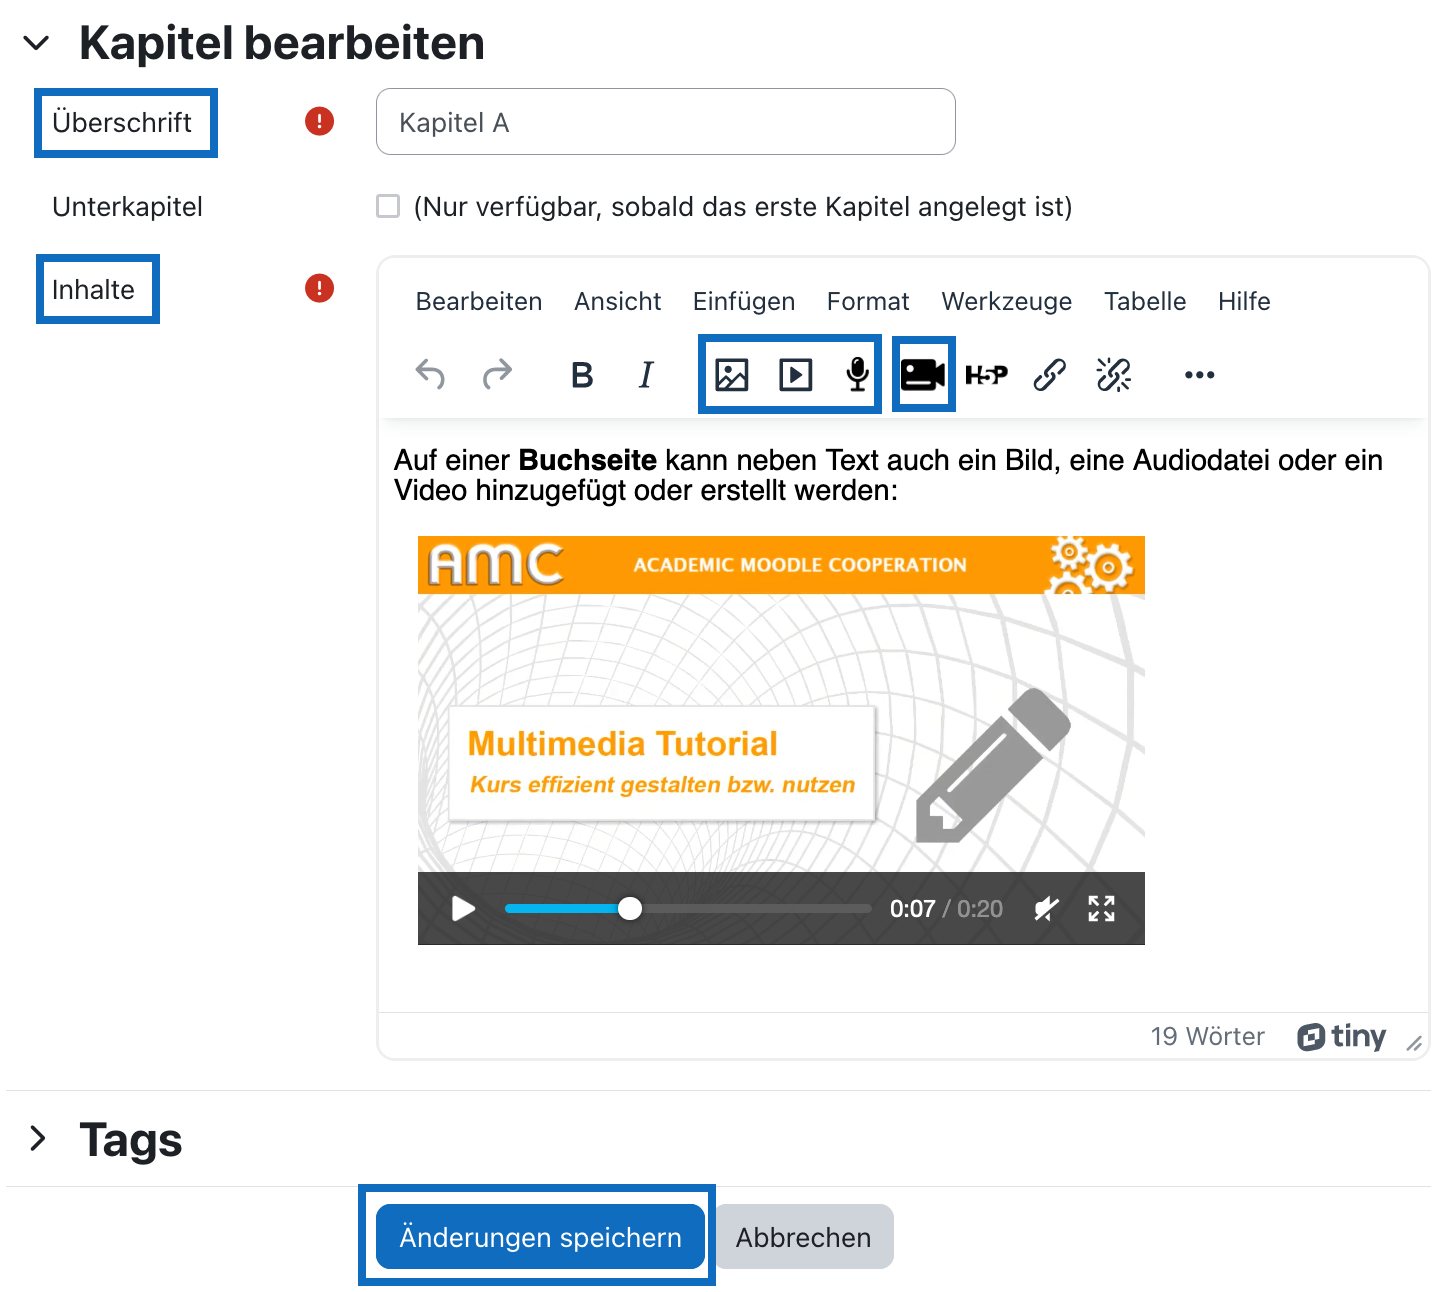
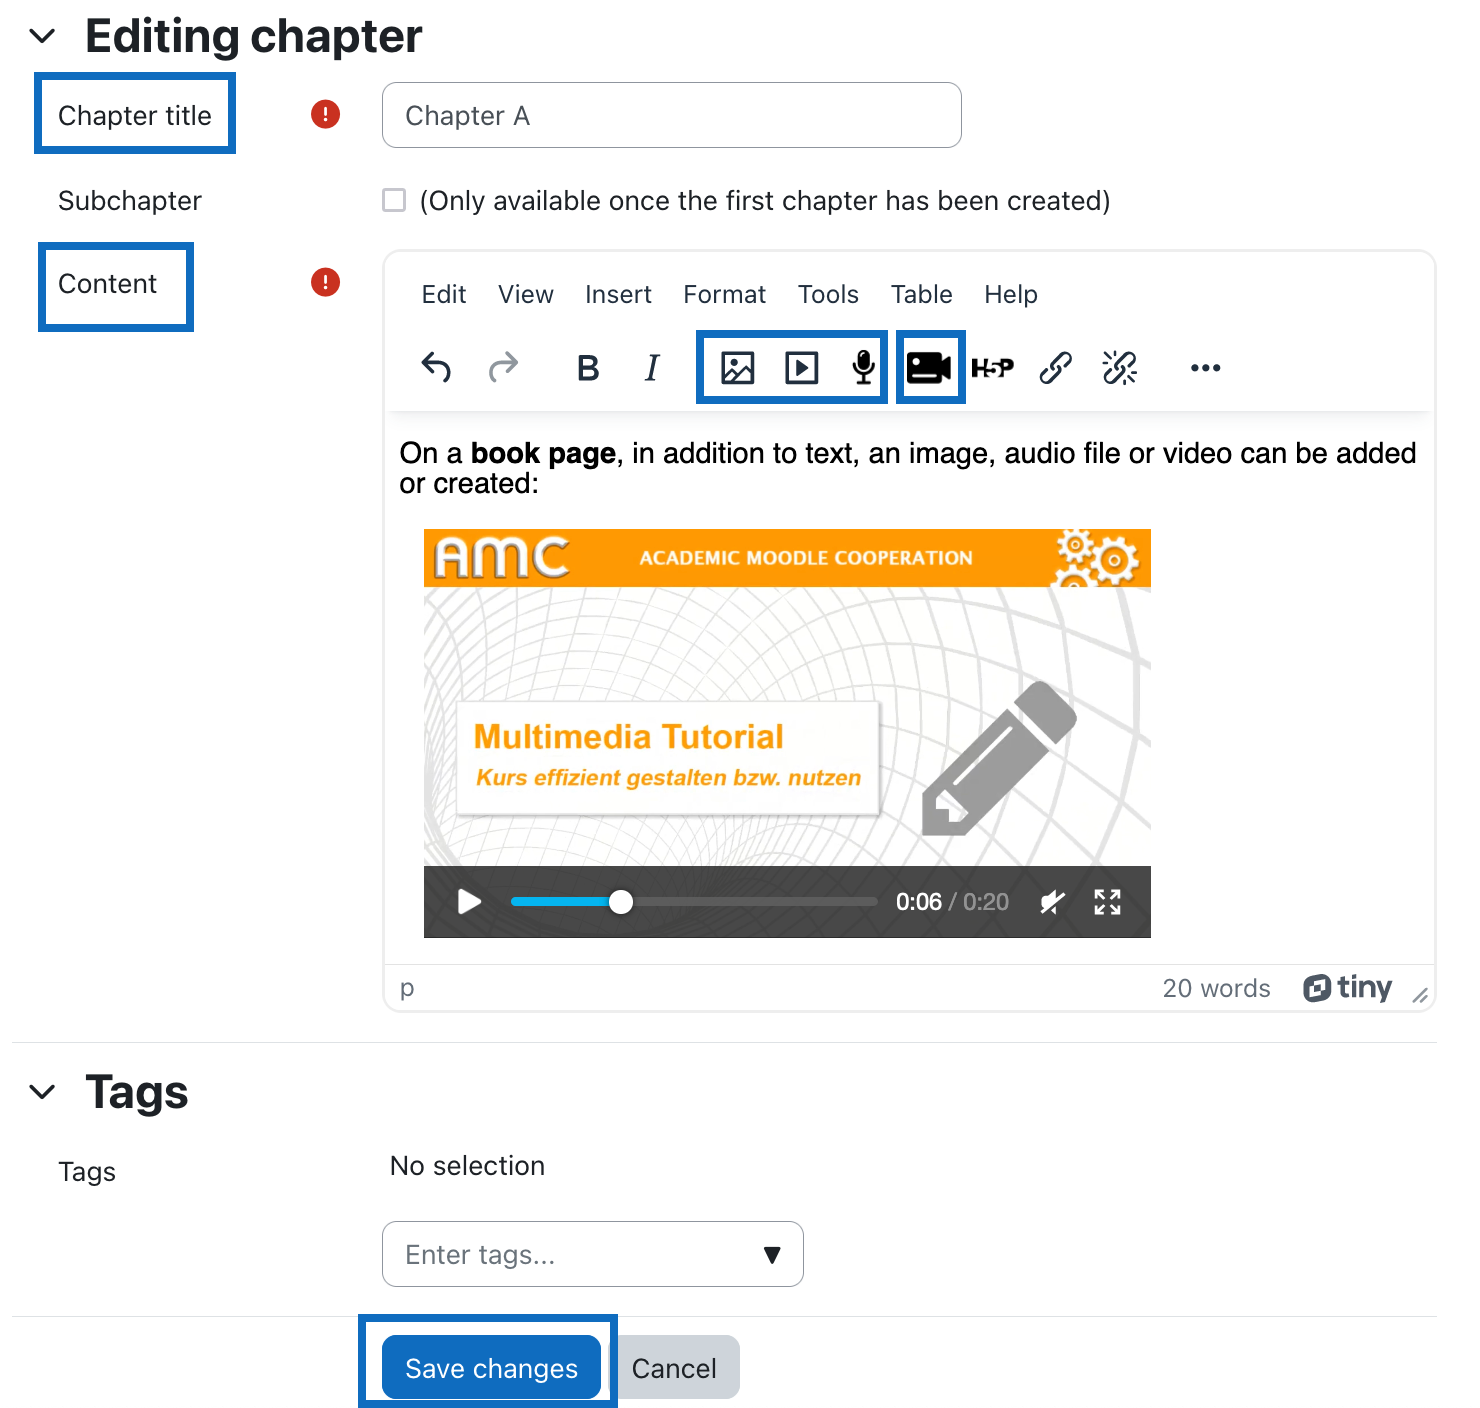
Nun können Sie die erste Kapitelüberschrift und den Inhalt eingeben. Bei Bedarf können über die entsprechenden Elemente des Texteditors auch Bilder oder multimediale Inhalte eingefügt werden. Zum Bestätigen Ihrer Eingabe klicken Sie auf die Schaltfläche „Änderungen speichern”.
5. Create the first chapter heading and content
Now you can enter the first chapter title and the content. If necessary, images or multimedia content can also be added using the corresponding elements of the text editor. To confirm your entry, click the button "Save changes".
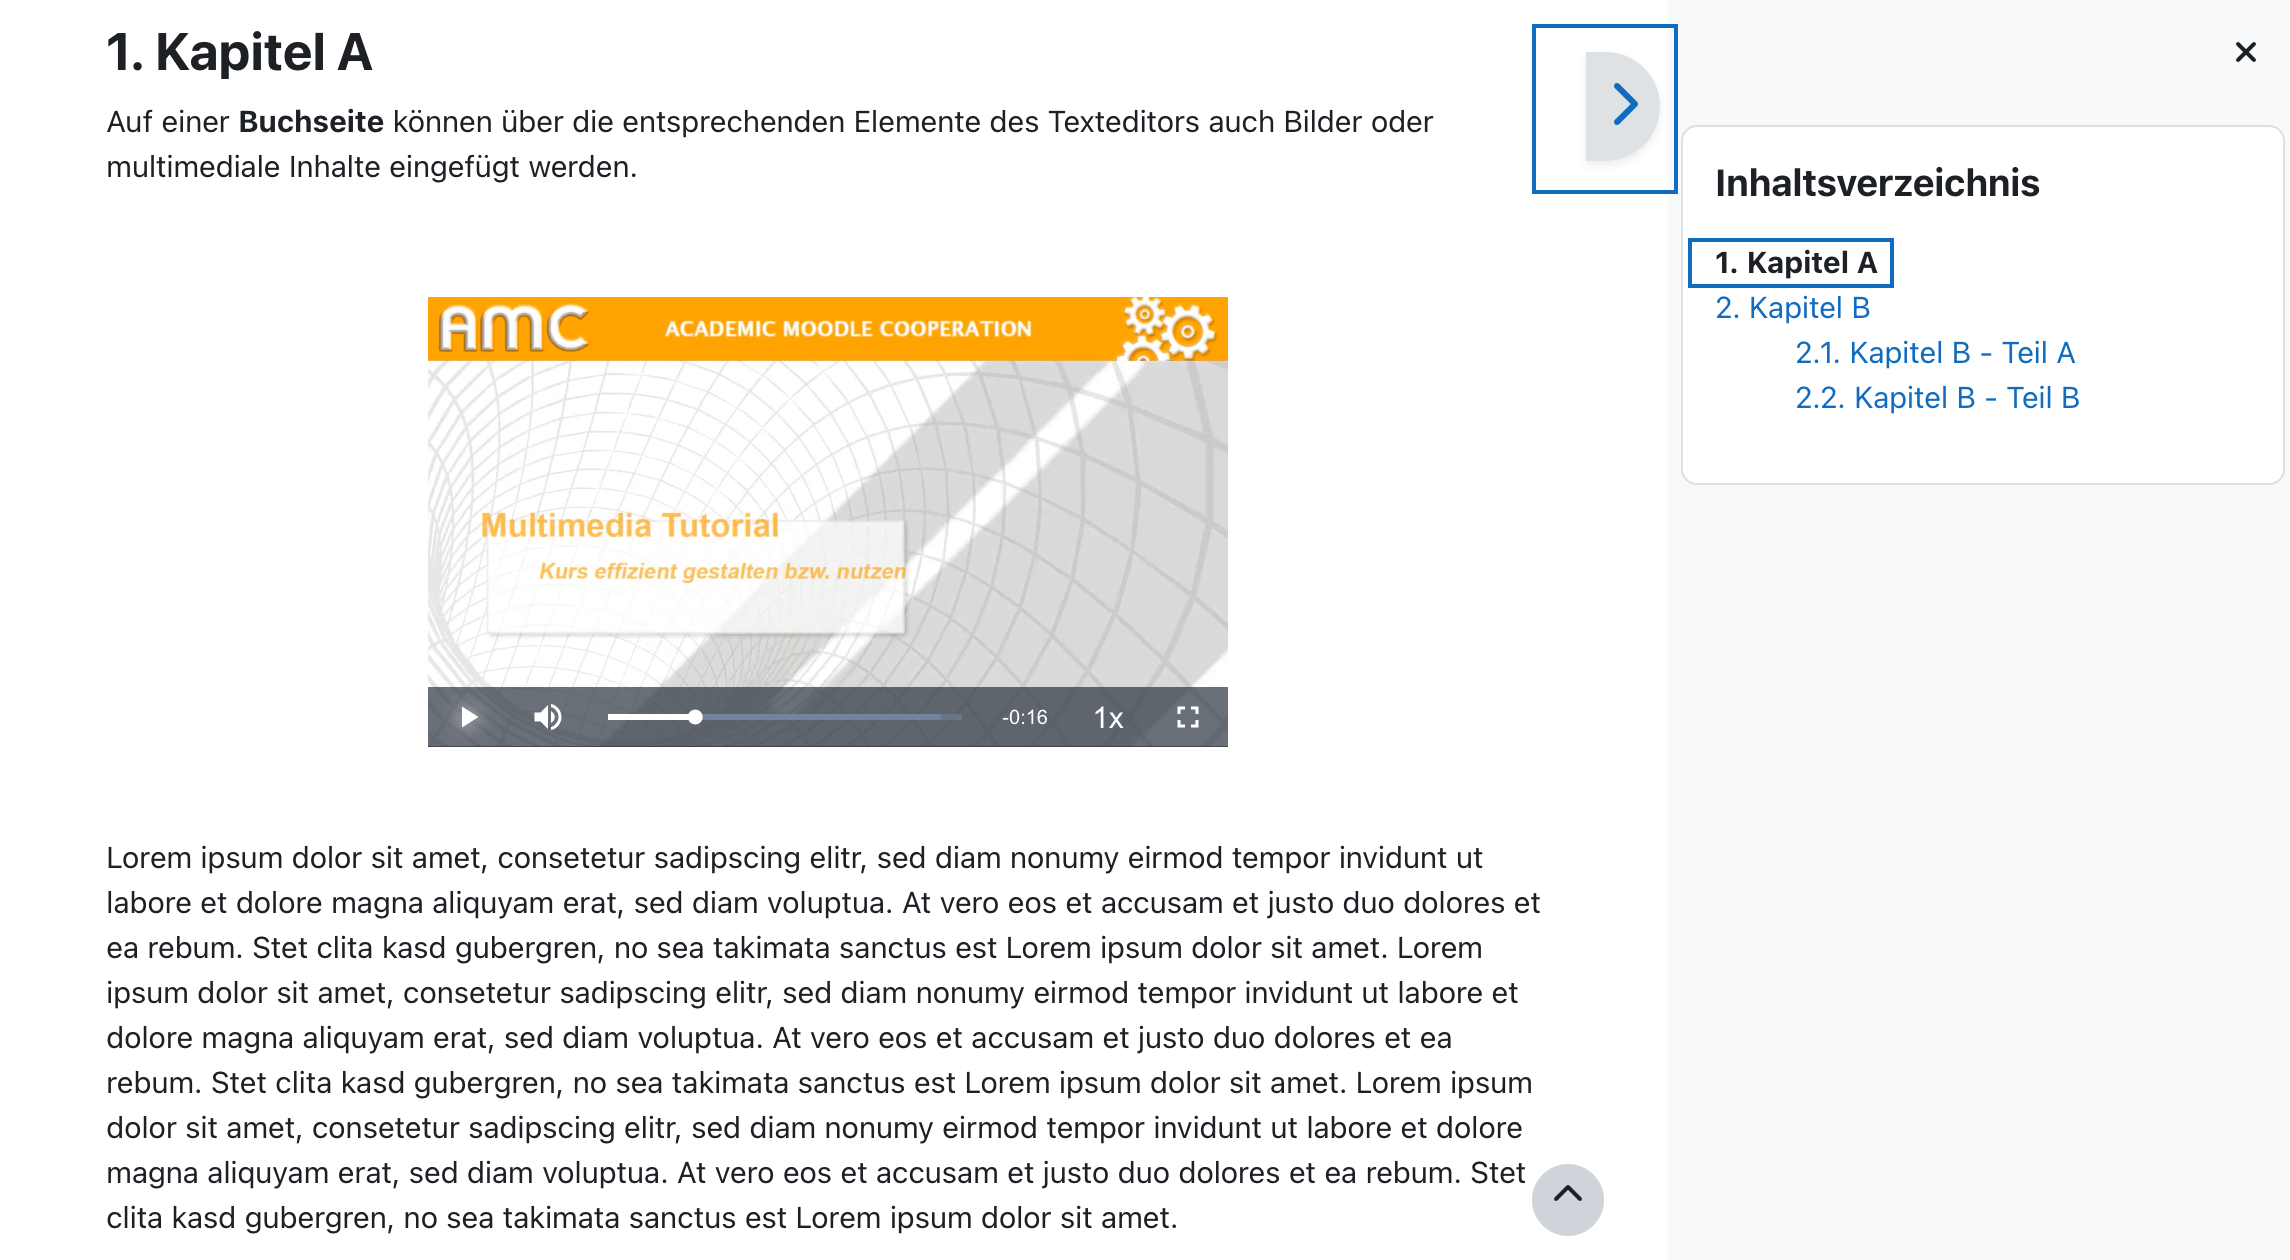
6. Inhaltsverzeichnis anzeigen lassen
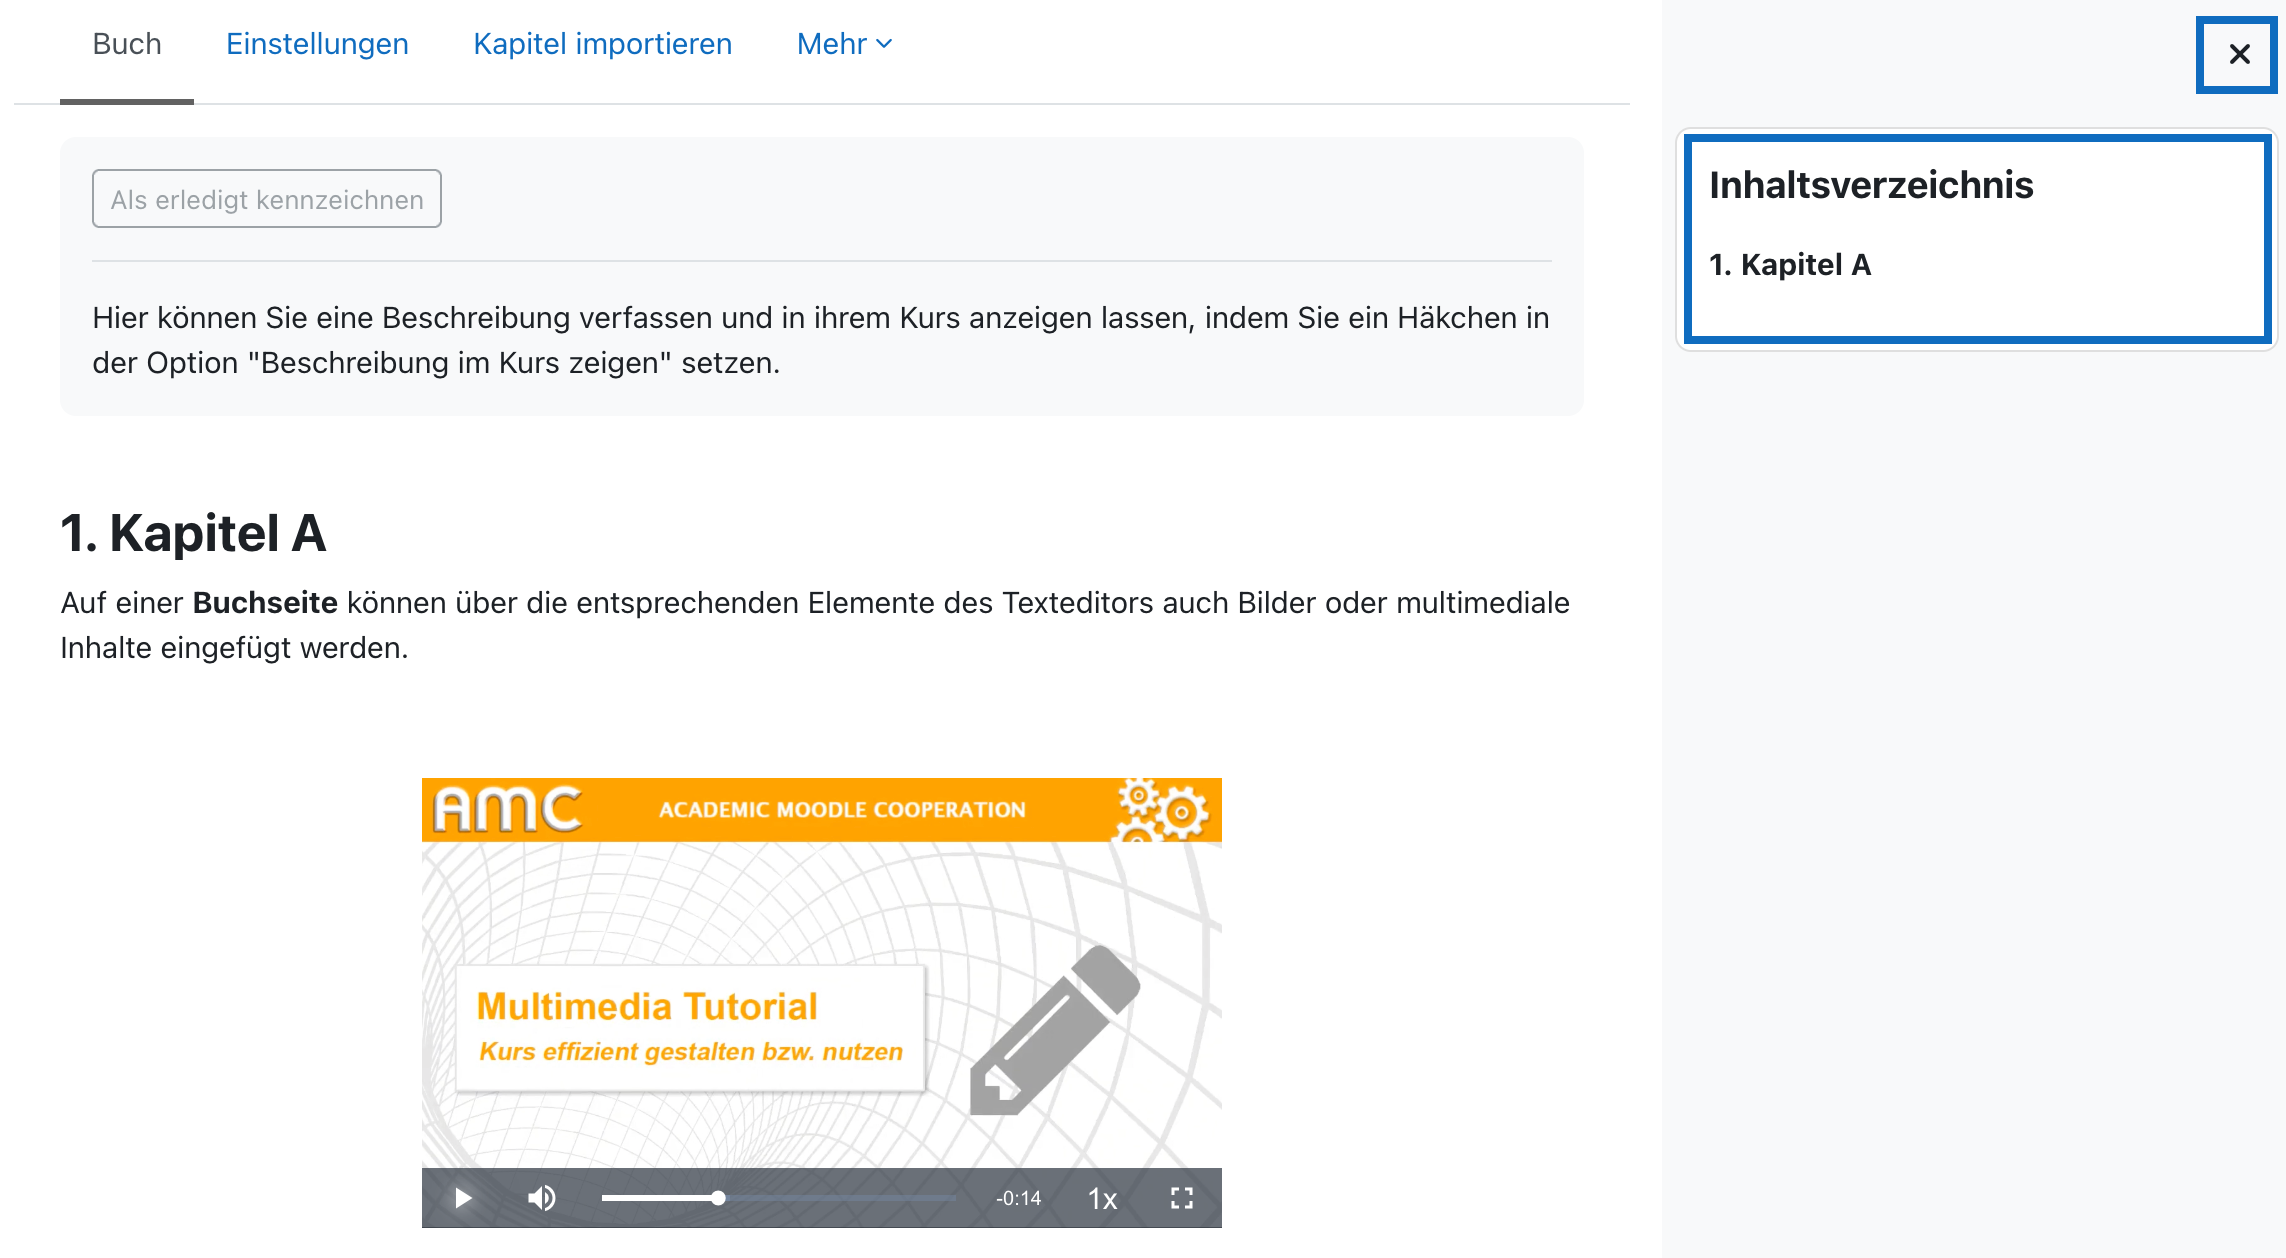
Ihr erstes Kapitel wurde nun angelegt. Das Inhaltsverzeichnis befindet sich auf der rechten Seite und zeigt dort die Kapitelüberschrift an.
6. Display table of contents
Your first chapter has now been added. The table of contents is on the right side and also displays the chapter heading there.
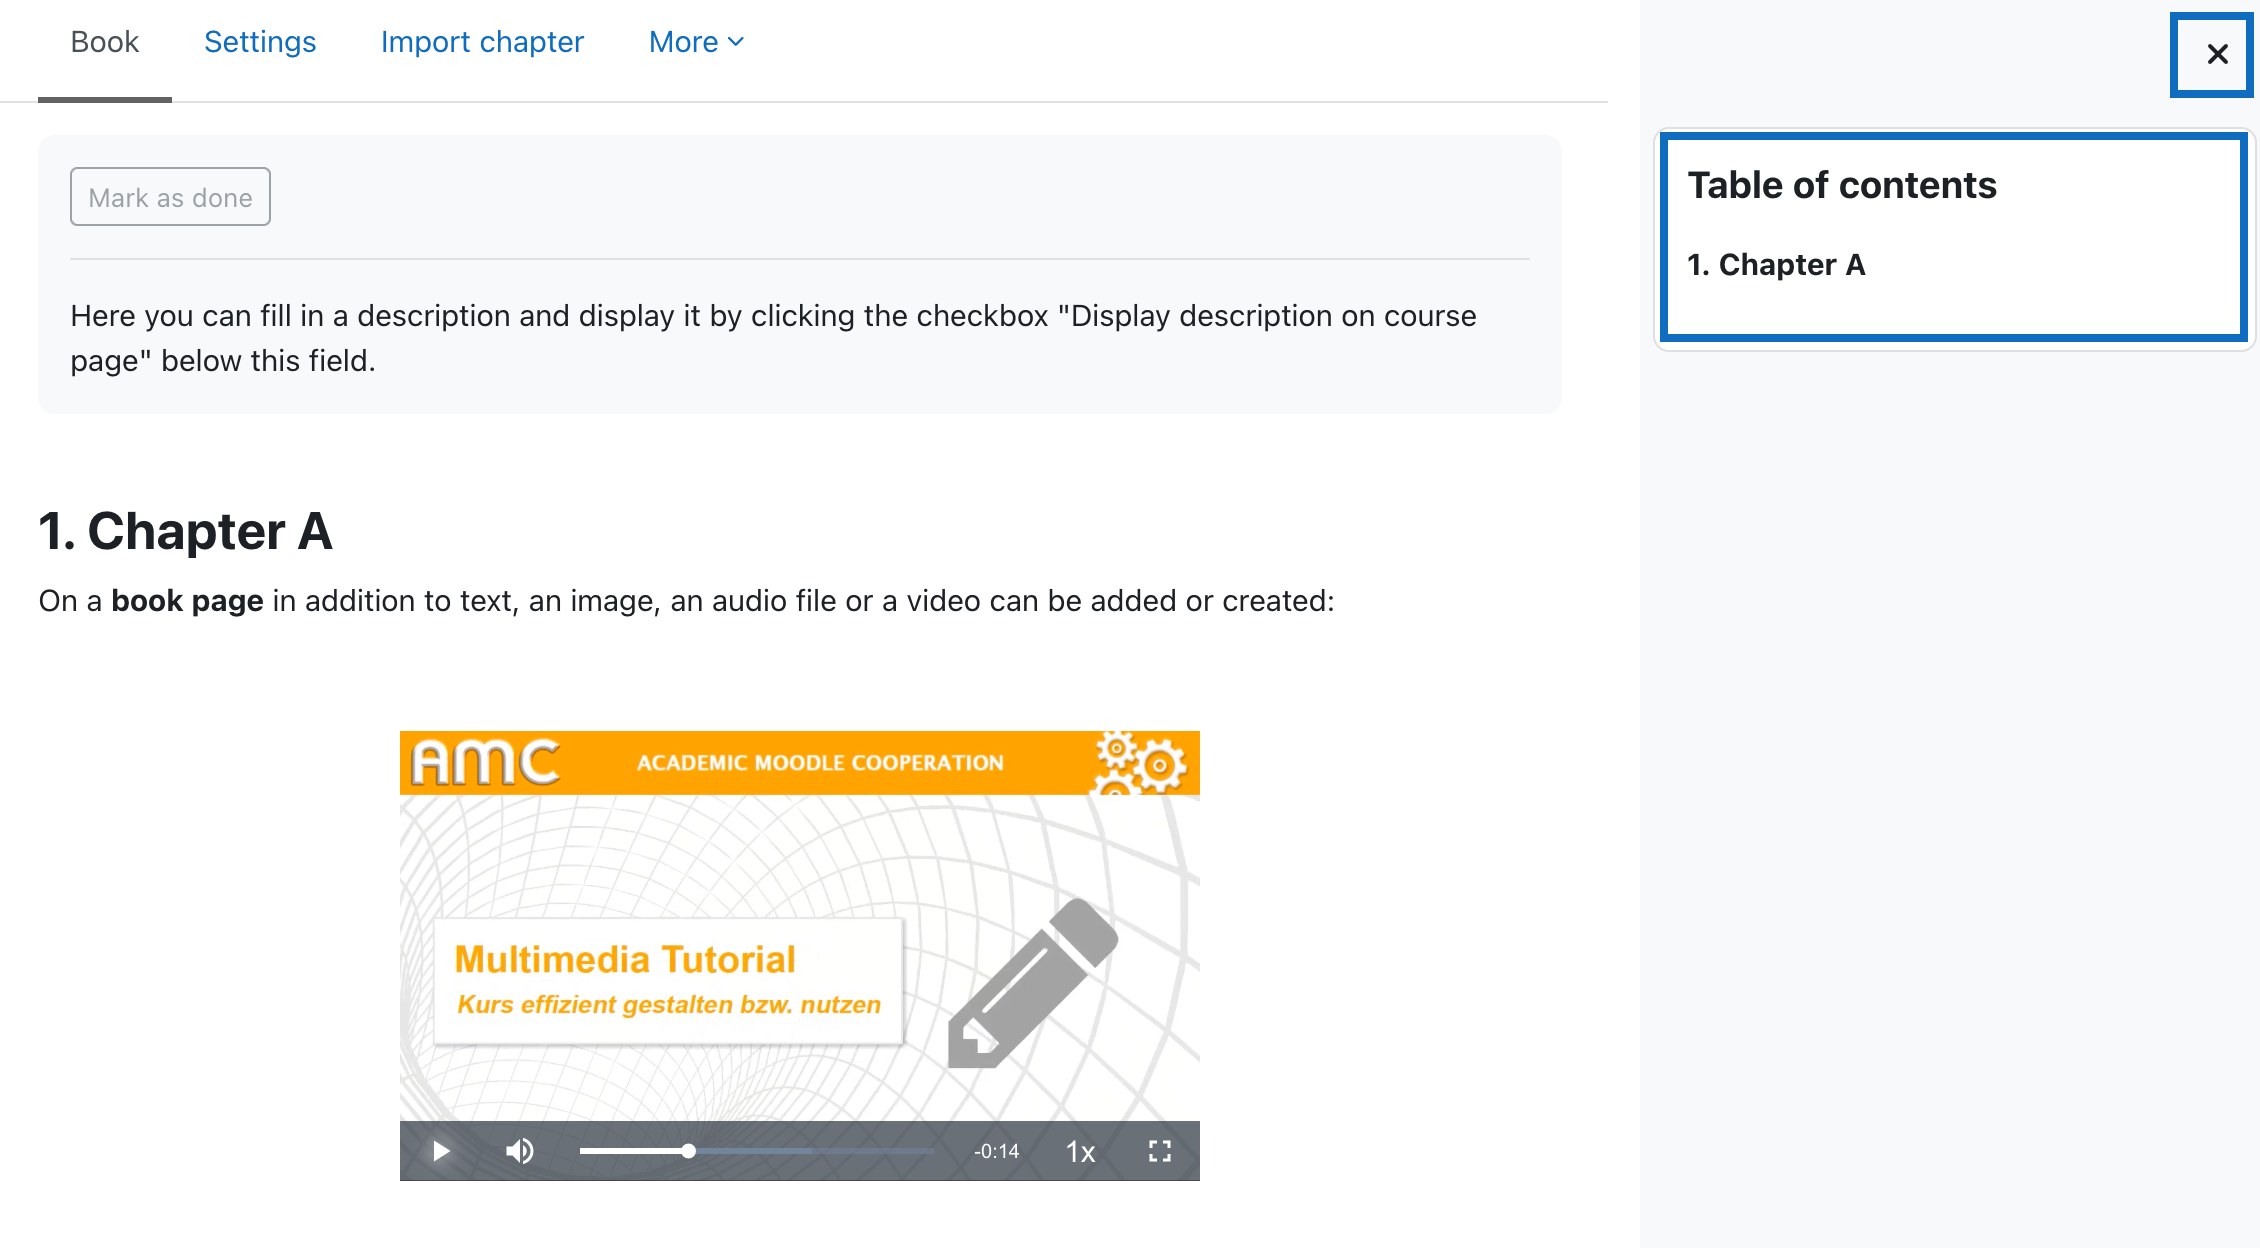
Hinweis: Sollte das Inhaltsverzeichnis nicht angezeigt werden, öffnen Sie bitte die rechte Blockleiste durch Klick auf das Schaltflächensymbol.
Note: In case the table of contents is not displayed, please open the block bar on the right side by clicking on the icon-button.
7. Inhaltsverzeichnis bearbeiten
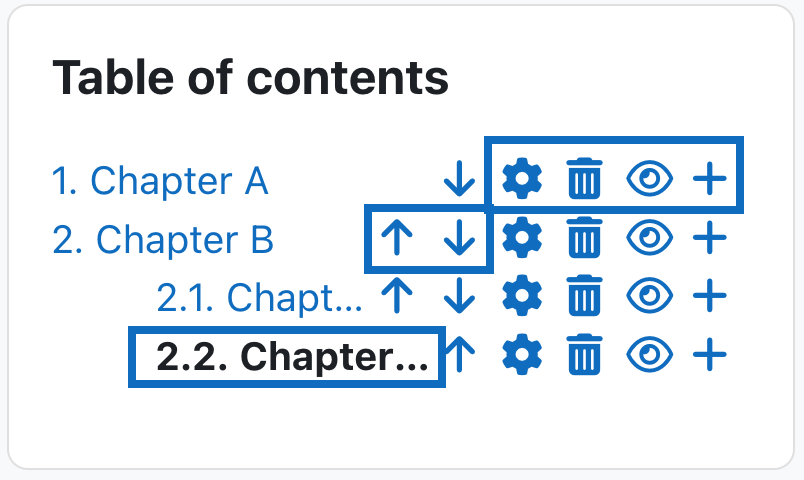
Wenn Sie sich im Bearbeitungsmodus befinden, erscheinen im Inhaltsverzeichnis neben der jeweiligen Kapitelüberschrift auf der rechten Seite vier Icons für die Bearbeitung der einzelnen Kapitel:
Das „Zahnrad-Symbol” ermöglicht eine Bearbeitung der einzelnen Kapitel samt ihrem Inhalt.
Der „Papierkorb” löscht das jeweilige Kapitel samt allen Unterkapiteln.
Das „Auge”- Symbol ermöglicht das Aus- und Einblenden einzelner Teile des Buches. Ausgeblendete Kapitel können auch mit ausgeschaltetem Bearbeitungsmodus angesehen werden.
Mit dem „+” kann ein weiteres Kapitel bzw. Unterkapitel angelegt werden.
Sobald mehrere Kapitel angelegt wurden, erscheinen zwei Pfeil-Symbole. Damit können Sie bei Bedarf die Reihenfolge ändern.
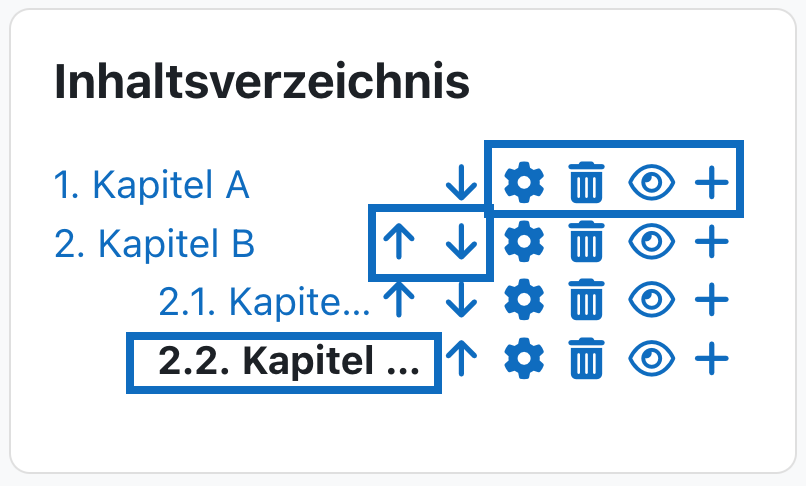
7. Edit table of contents
Once you are in the edit mode, in the table of content four icons for editing the individual chapters will appear on the right side of each chapter title:
The "gear icon" allows you to edit the individual chapters along with their contents.
The "trash can" deletes the respective chapter together with all subchapters.
The "eye" symbol allows you to hide and show individual parts of the book. Hidden chapters can also be viewed with the editing mode turned off.
The "+" button can be used to create another chapter or subchapter.
As soon as several chapters have been created, two arrow symbols appear. These can be used to change the order of the individual chapters if required.
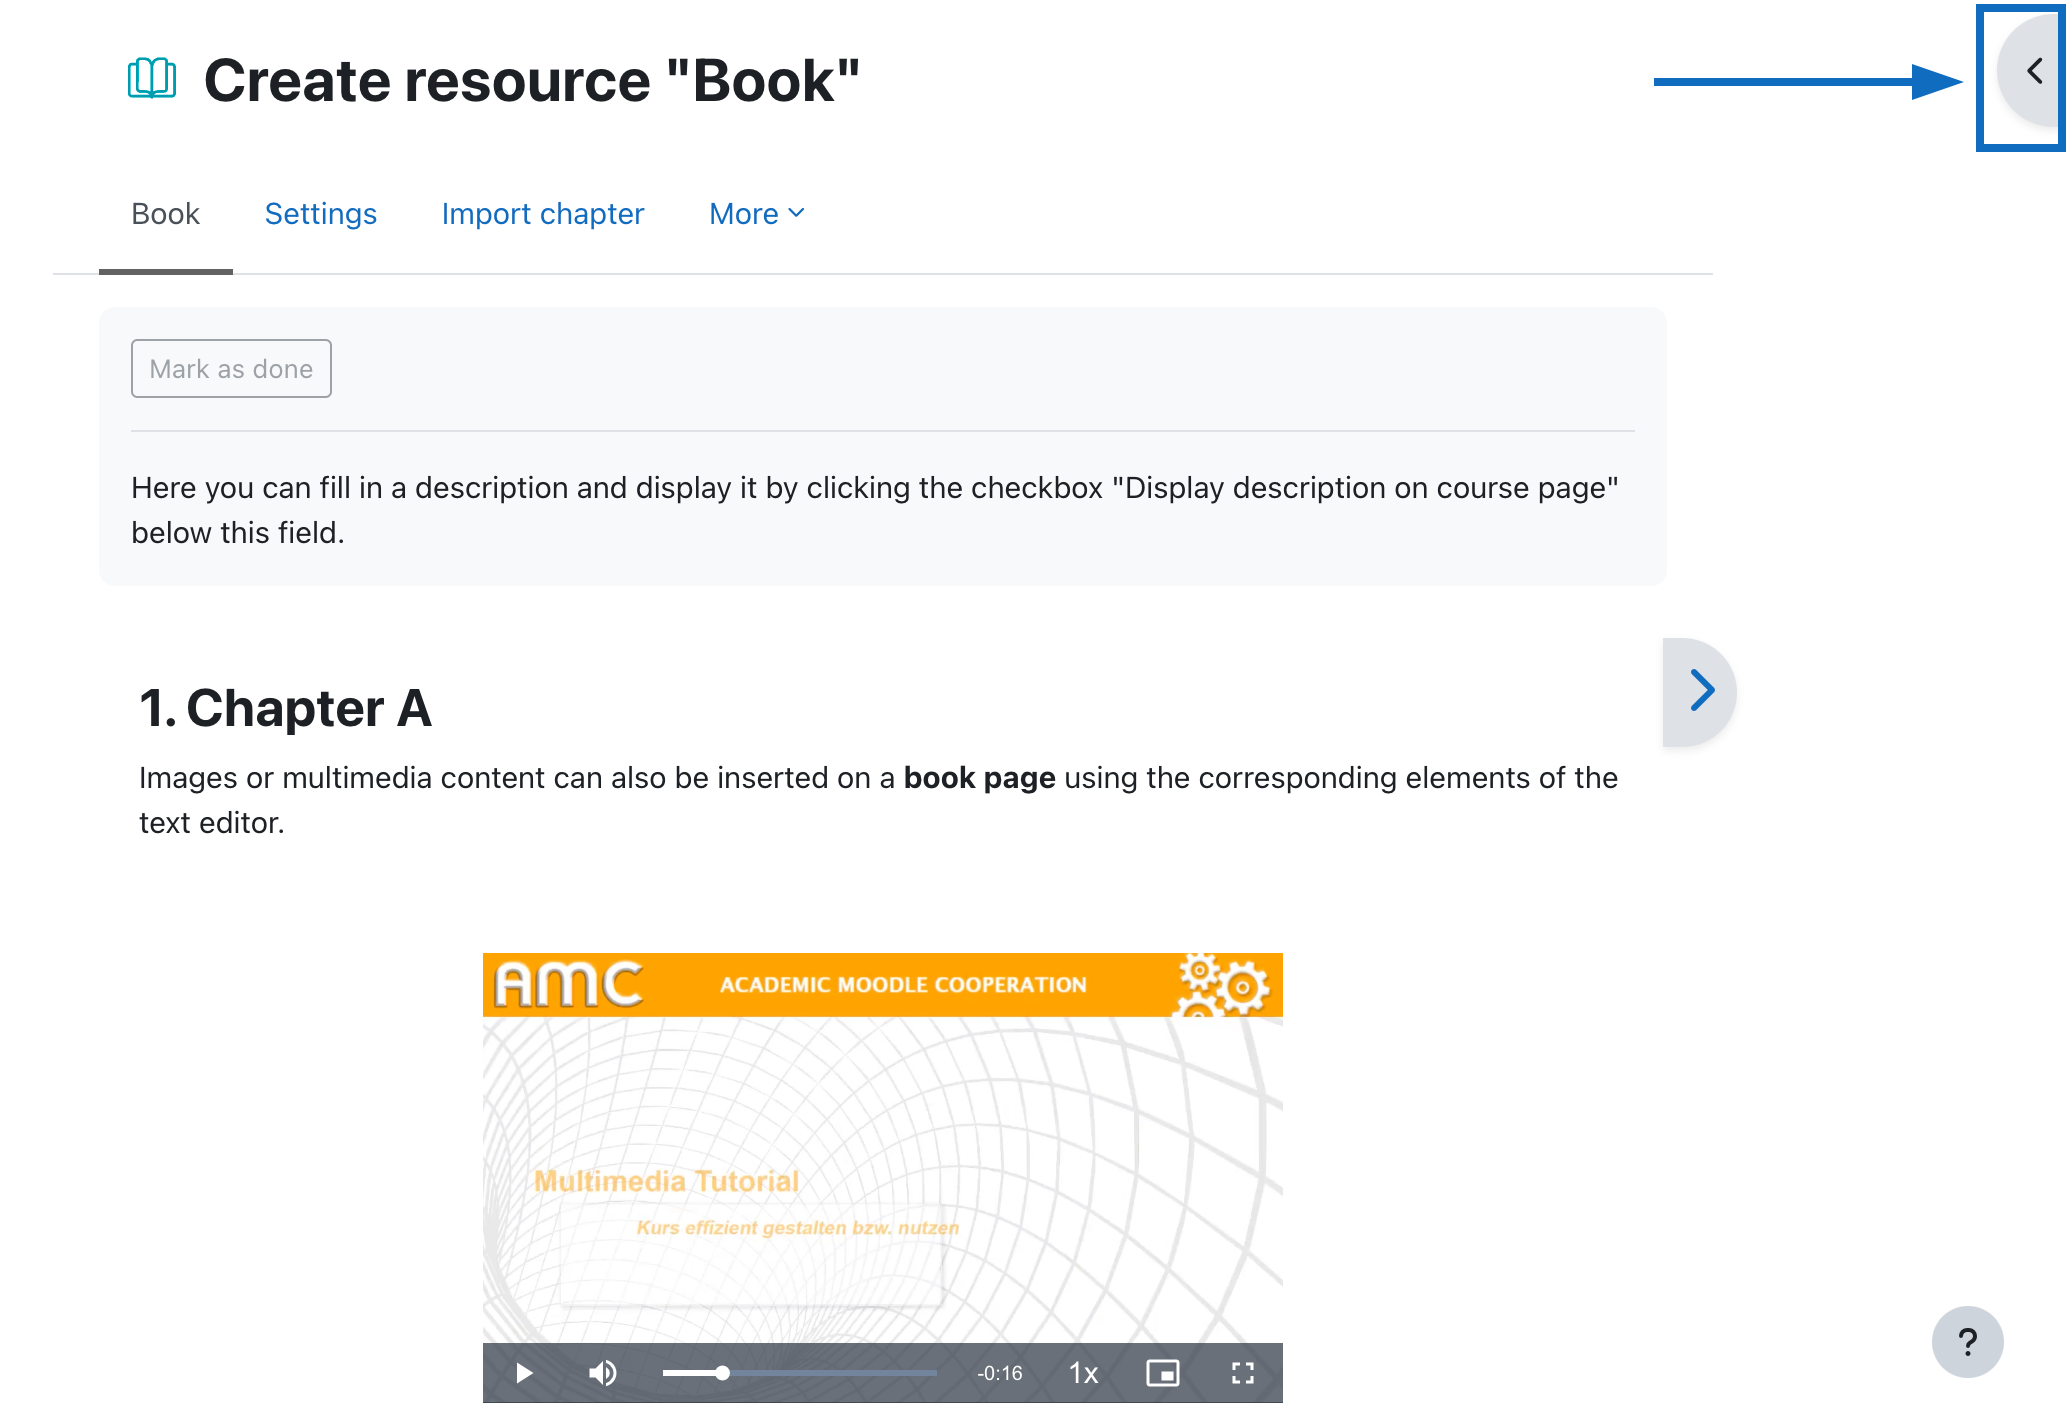
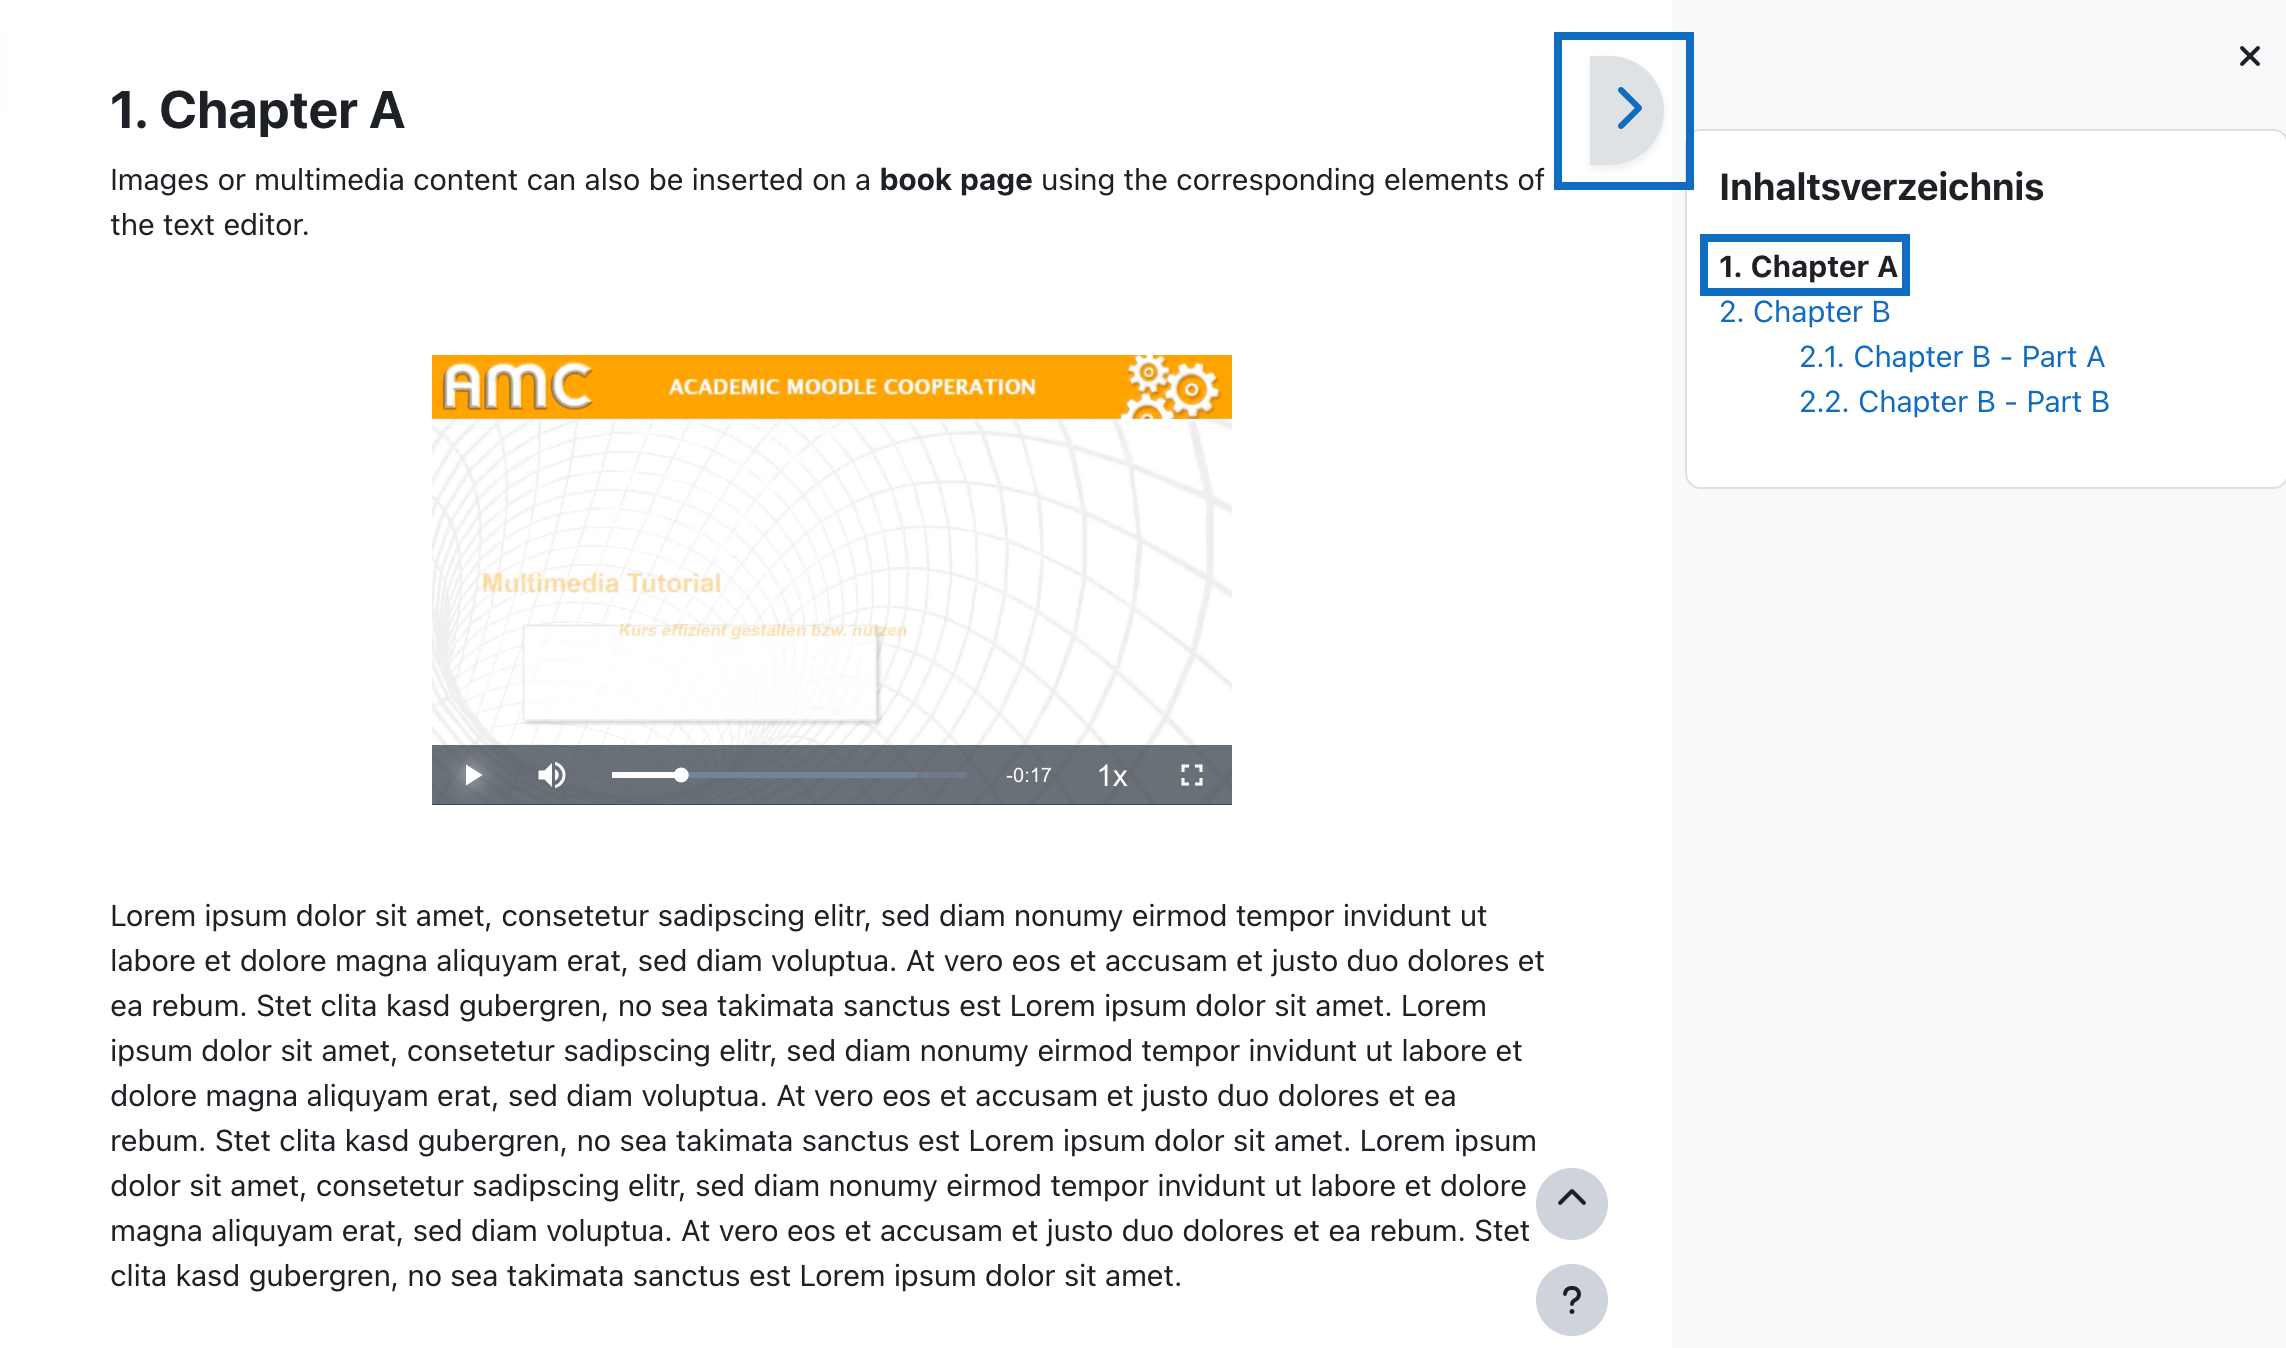
8. Leseansicht
Um im Buch zu navigieren, klicken Sie bitte auf die einzelnen Kapitel bzw. Unterkapitel im Inhaltsverzeichnis-Block oder verwenden Sie die Schaltfläche Pfeilschaltfläche rechts oberhalb des Inhaltsbereiches, die bei langen Textpassagen automatisch mitwandern.
8. Reading mode
To navigate the book, click on the individual chapters or subchapters in the table of contents block or use the arrow icon on the right above the content area, which automatically move along with long text passages.
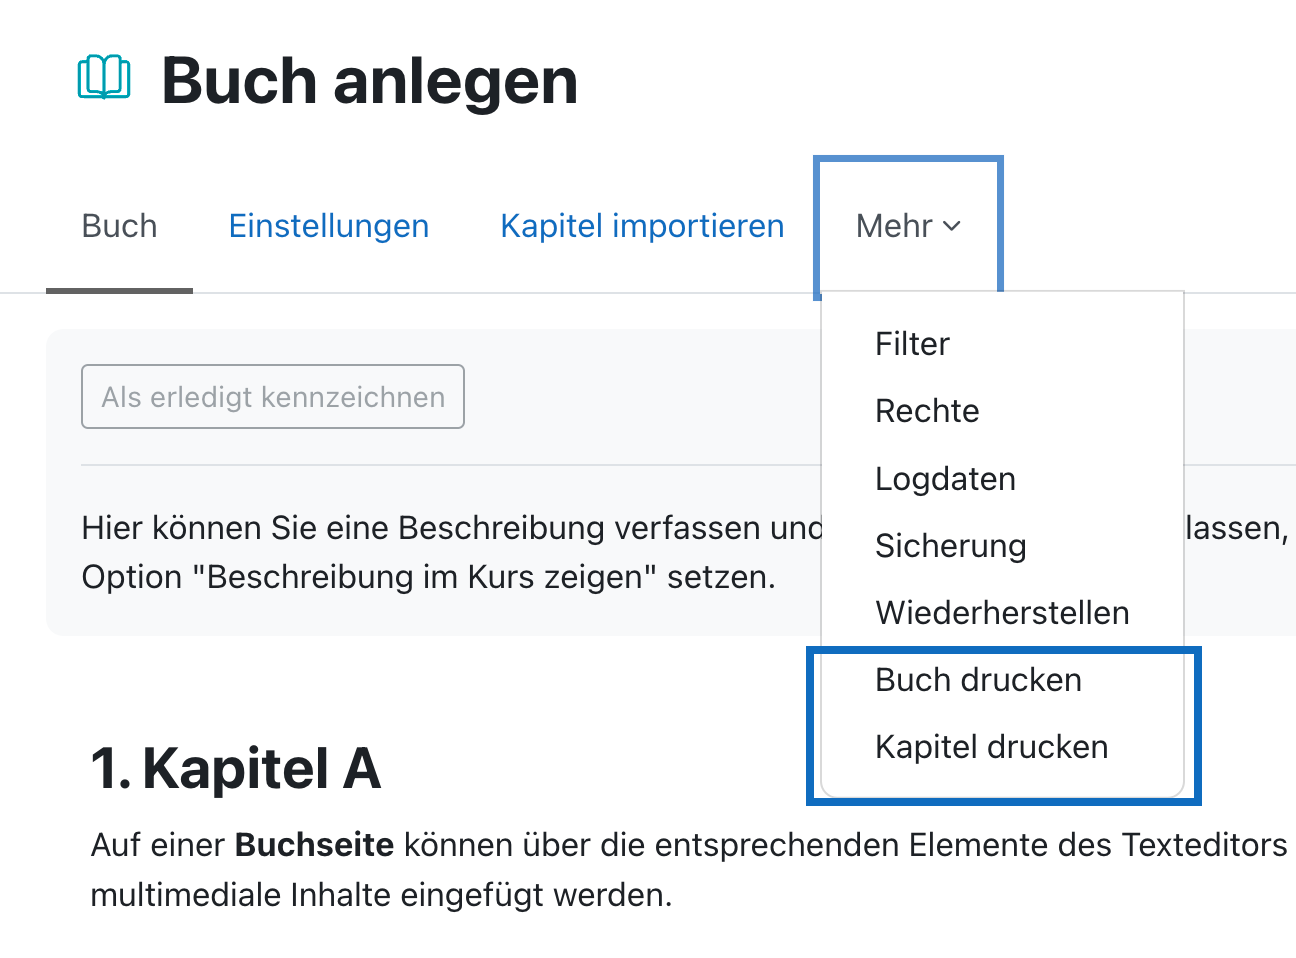
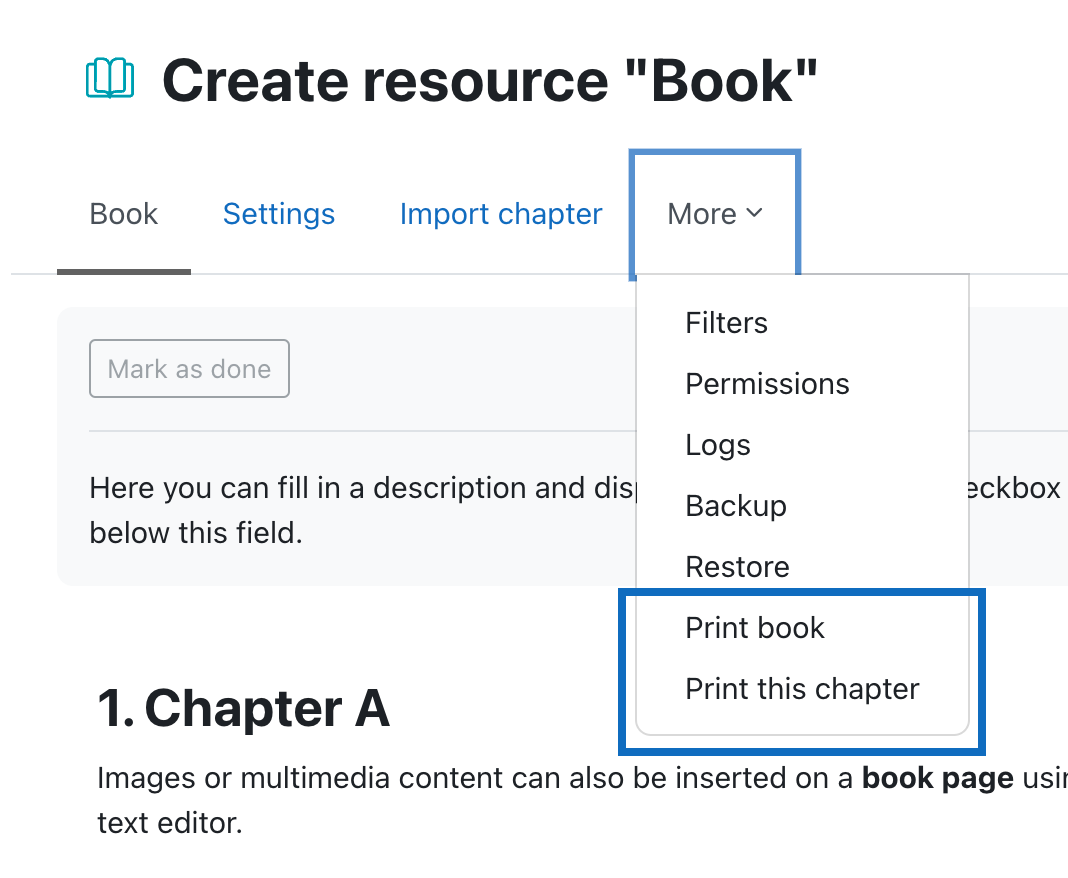
9. Buch drucken oder verlinken
Ganze Bücher oder einzelne Kapitel können gedruckt werden. Jedes Buch hat ebenso eine eigene ID. Dadurch können Sie auf das Buch, auf ein Kapitel oder sogar auf eine einzelne Seite verlinken.
Wenn das Downloadcenter genutzt wird ist es auch möglich, ein Buch als html-Webseite zu downloaden.
9. Print or link the book
Entire books or individual chapters can be printed. Each book also has its own ID. This allows you to link to the whole book, to a chapter or even to a single page.
Using the download center it is alos possible to download a book as a html- file.
Weitere Informationen
Weitere Informationen
Bei Fragen zur Barrierefreiheit wenden Sie sich bitte an die entsprechende Supporteinrichtung Ihrer Hochschule.
Dieses Werk steht unter einer Creative Commons Attribution-ShareAlike 4.0 Lizenz:
https://creativecommons.org/licenses/by-sa/4.0/
Further information
If you have any questions regarding accessibility, please contact the relevant support facility at your university.
This work is licensed under a Creative Commons Attribution-ShareAlike 4.0 License:
https://creativecommons.org/licenses/by-sa/4.0/